
Introduction: Why Electrical Panel Labeling Matters for Every Homeowner
Imagine facing a sudden power outage in your home and needing to quickly shut off a circuit for safety—or worse, during an emergency like a fire or electrical short. An unlabeled or poorly labeled electrical panel turns a simple task into a stressful guessing game, risking safety, wasting time, and potentially damaging equipment. Effective electrical panel labeling is one of the most overlooked yet critical maintenance steps homeowners can take to ensure both safety and efficiency. It streamlines troubleshooting, makes renovations smoother, and empowers anyone—homeowner, electrician, or inspector—to navigate your home’s electrical system with confidence.
This comprehensive guide explores the importance of proper electrical panel labeling, outlines the best practices for labeling and maintaining your panel, and provides step-by-step methods, recommended tools, and actionable tips to keep your home’s circuits organized and safe. Whether you’re a DIY enthusiast updating your home or a homeowner wanting to ensure your investment is protected, these expert insights will help you unlock the full benefits of a clearly labeled panel for years to come.
The Importance of Electrical Panel Labeling
Safety First
Accurate labeling can mean the difference between a quick, safe response and a dangerous delay during emergencies. Firefighters, electricians, or family members can immediately identify and isolate problem circuits, reducing risks of shock, fire, or damage to appliances and wiring.
Maintenance Made Easy
Routine maintenance, troubleshooting, or upgrades are dramatically simplified when circuits are clearly identified. Electricians can work more efficiently, minimizing service time and cost. Homeowners can confidently reset breakers or make minor repairs without fear of shutting down the wrong area.
Compliance and Resale Value
While labeling is often required by electrical codes, a well-labeled panel also impresses home inspectors and potential buyers. It serves as a sign of responsible ownership and may positively impact resale value.
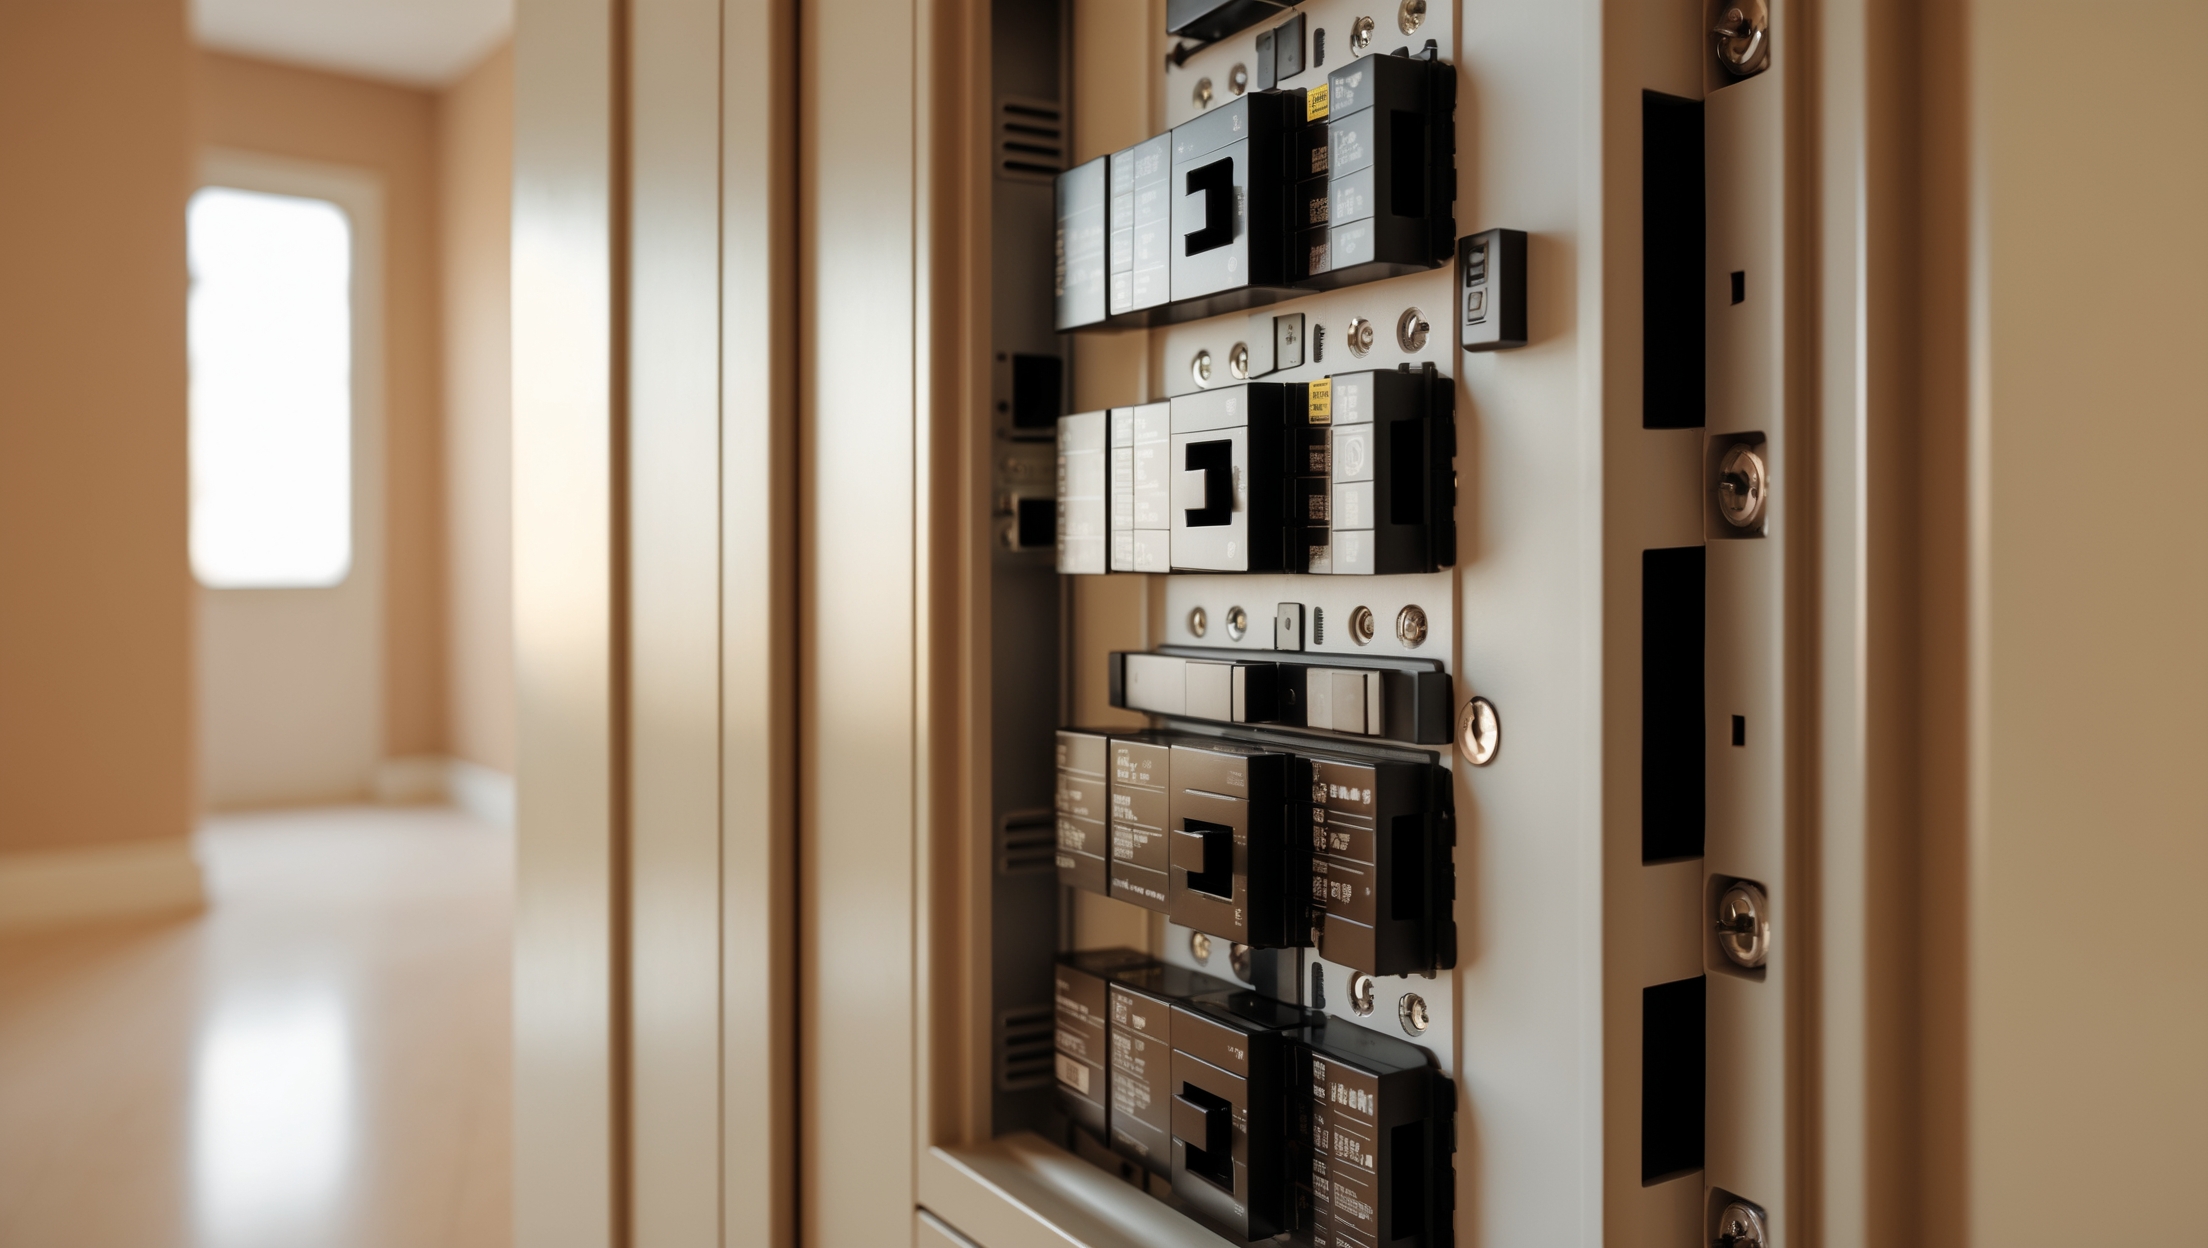
Understanding Circuit Breaker Panel Layouts
Types of Electrical Panels
- Main Service Panel: Distributes power from the utility to circuit breakers.
- Subpanel: Secondary panel for specific areas, like additions or garages.
- Fuse Box (Older Homes): Uses fuses instead of breakers; labeling principles still apply.
Typical Circuit Organization
Panels are usually arranged so that circuits are grouped by area (kitchen, bedrooms, HVAC, etc.), but this is not always the case—especially after remodels or additions. Always verify the actual layout before labeling.
Preparing for Panel Labeling
Safety Precautions
- Wear insulated gloves and shoes.
- Ensure hands are dry and the area is well-lit.
- Keep a non-contact voltage tester handy.
- Never remove the panel cover unless you are qualified.
Gathering the Right Tools
- Pre-printed or blank circuit breaker labels
- Permanent marker or label maker
- Flashlight or headlamp
- Notebook or labeling worksheet
- Helper for circuit identification
- Non-contact voltage tester or plug-in circuit tester
Step-by-Step Guide: How to Accurately Label Your Electrical Panel
1. Create a Blank Circuit Map
Draw a simple diagram or use a printable worksheet to represent the layout of your panel. Number each breaker or fuse position as it appears physically—left to right, top to bottom.
2. Identify Each Circuit
- Plug a lamp or radio into an outlet in each room.
- With a helper, turn off one breaker at a time and note which devices or lights lose power.
- Record the matching area or appliance on your map.
- For hardwired circuits (furnace, oven, AC, etc.), check the device or use manufacturer documentation.
3. Test for Overlapping or Shared Circuits
Some circuits may serve multiple locations (e.g., hallways and bedrooms). Identify all outlets, fixtures, or appliances affected by each breaker and document accordingly.
4. Label Clearly and Consistently
- Use pre-printed or durable labels inside the panel door and beside each breaker.
- Be specific: Instead of “Outlets,” write “Kitchen counter outlets, north wall.”
- Indicate dedicated circuits for appliances (“Dishwasher only”).
- For multi-room circuits, list all areas served.
5. Create a Master Legend
Attach a master circuit legend inside the panel door. Use a typed or neatly handwritten list that matches each breaker number to its function. Laminate for durability.
Labeling Best Practices and Tips
- Use High-Quality Labels: Choose heat- and moisture-resistant labels designed for electrical panels.
- Keep Descriptions Short but Clear: Avoid abbreviations unless they’re widely understood (e.g., “HVAC”).
- Indicate GFCI/AFCI Breakers: Notate any special protection for quick identification.
- Note Unused Breakers: Mark as “Spare” or “Unused” to prevent confusion.
- Update Immediately After Changes: Whenever a new appliance is added or remodeling occurs, update the labels right away.
- Add Date of Last Update: Helps track when labeling was reviewed or changed.
Common Labeling Mistakes to Avoid
- Vague Descriptions: “Lights” or “Outlets” alone are not helpful—be room- or area-specific.
- Handwritten Labels Only: Faded or illegible pen marks can cause confusion; use printed labels where possible.
- Ignoring Subpanels: Always label subpanels and reference their control from the main panel.
- Omitting Shared Circuits: Failing to note all areas served by a circuit leads to surprises during maintenance.
- Not Labeling Neutrals or Grounds: While not always required, noting multi-wire branch circuits can help future troubleshooting.
Maintaining and Updating Your Panel Labels
Regular Inspections
- Review labels every 6-12 months.
- Check for fading, peeling, or missing information.
After Electrical Work
- Update labels immediately following any professional or DIY electrical work.
- Ask contractors to provide updated circuit information for your records.
Documentation and Backups
- Keep a digital copy (photo or scan) of your panel legend.
- Store a backup in your home maintenance file or cloud storage.
Going Beyond: Advanced Labeling Techniques
Color Coding
Use color-coded labels or dots to quickly distinguish between types of circuits—lighting, outlets, appliances, GFCI/AFCI protected, etc.
QR Codes for Digital Legends
Create a QR code that links to a digital version of your circuit legend, wiring diagrams, or maintenance logs. Place the code inside the panel door for instant access via smartphone.
Panel Mapping Apps
Consider using specialized home management apps that let you build interactive circuit maps, track changes, set reminders for updates, and store photos or documents for easy sharing with contractors or inspectors.
Case Examples: Real-World Benefits of Proper Panel Labeling
Case 1: Fast Response During an Emergency
During a kitchen appliance fire, a homeowner was able to immediately shut off the correct breaker, minimizing damage and preventing spread—thanks to clear, updated labeling.
Case 2: Efficient Renovation
A family remodeling their basement saved hours of labor costs as their electrician easily identified and isolated circuits, reducing downtime and avoiding unnecessary circuit shutoffs.
Case 3: Smooth Home Sale Inspection
An organized, labeled panel impressed a home inspector and buyer, expediting the sale and serving as tangible proof of proper home maintenance.
Frequently Asked Questions About Panel Labeling
- Is panel labeling required by code? Most local codes require clear identification of circuits. Check with your local authority for specifics.
- Can I label my panel myself? Yes, but exercise all safety precautions. If unsure, hire a licensed electrician.
- What if my panel is full of old or unclear labels? Remove all existing labels and start fresh. Use the step-by-step process outlined above.
- Are there professional labeling services? Many electricians offer labeling as part of panel upgrades or inspections.
Conclusion: A Small Step with Lasting Impact
Electrical panel labeling may seem like a minor maintenance task, but its impact on home safety, convenience, and value is significant. It transforms a confusing jumble of wires and switches into an organized, accessible system that empowers both you and any professionals who work on your home. A well-labeled panel saves time and money, reduces stress in emergencies, and supports responsible home ownership.
By following the best practices outlined in this guide—using durable labels, detailed descriptions, regular updates, and advanced techniques—you create a safer, more efficient household environment. Don’t wait for an emergency or inspection to discover the pitfalls of poor labeling. Set aside an afternoon, gather the right tools, and invest in this simple yet powerful upgrade. Your future self—and anyone who enters your home—will thank you for it.
Remember, an organized electrical panel isn’t just about compliance or aesthetics. It’s about protecting your loved ones, preserving your investment, and enjoying true peace of mind. Make panel labeling a priority in your home maintenance routine, and you’ll reap the benefits for years to come.
How detailed should each circuit label be for optimal safety and efficiency? Should I list specific rooms and major appliances, or is it enough to use general terms like ‘kitchen’ or ‘living room’?
For the best safety and efficiency, each circuit label should be as specific as possible. List the exact room and mention major appliances or features on that circuit, like ‘Kitchen – Refrigerator, Microwave’ or ‘Living Room – Outlets, Lights.’ This makes future troubleshooting and maintenance much easier, and helps anyone quickly identify which circuit controls what.
When actually labeling the circuits, what are the best materials or tools to use so that the labels don’t fade or fall off over time? Are there any specific products you recommend for durability?
For long-lasting circuit labels, use a label maker with laminated tape or high-quality vinyl labels—they’re resistant to moisture and fading. Permanent markers on self-adhesive labels also work well, but make sure the surface is clean before sticking them on. Popular brands like Brother P-touch or Dymo produce durable label tapes specifically designed for electrical panels and harsh environments.
You mention that clear panel labeling can help lower service costs during electrical work. Have you seen any rough estimates on how much money homeowners might save by labeling their panels correctly compared to leaving them unlabeled?
While there aren’t many formal studies with exact dollar amounts, electricians often report that clearly labeled panels can reduce service time by anywhere from 15 to 30 minutes per job. Since electricians typically charge by the hour, this could mean saving $25 to $75 or more per visit, depending on local rates. Over several service calls, these savings can quickly add up.
The article mentions that proper labeling can actually impact resale value and comply with electrical codes. If my panel is currently missing labels, are there any legal requirements or official standards I should be aware of before I start labeling each circuit?
If your panel is missing labels, it’s a good idea to check your local building codes, as many areas require clear and accurate labeling for safety and code compliance. The National Electrical Code (NEC) states that each circuit must be legibly identified, usually on the panel directory, to indicate its purpose. When labeling, use clear descriptions like ‘kitchen outlets’ or ‘living room lights’ and avoid vague terms. If you’re unsure, consulting a licensed electrician is a safe approach.
When it comes to labeling each breaker in my panel, do you have any suggestions for making the labels durable so they don’t fade or peel over the years, especially in a humid basement?
To make your breaker labels last in a humid basement, use a label maker with laminated or weather-resistant tape, as these resist moisture and fading much better than paper. Clean the panel surface before applying labels for better adhesion. Avoid handwritten labels, since ink can smear or fade over time. If possible, place a clear adhesive cover or tape over each label for extra protection.
If I recently bought a house and the electrical panel labeling is confusing or some labels are missing, what’s the safest way to test and figure out which circuit controls what in each room without risking injury or damaging anything?
To safely identify which circuit controls each area, start by turning off all electronics and unplugging sensitive devices. Have a helper with a phone or walkie-talkie. Turn off one breaker at a time and check which outlets, lights, or appliances lose power. Clearly label each breaker as you go. If you’re unsure or uncomfortable, consider hiring a licensed electrician for the job.
When it comes to keeping an electrical panel properly labeled over the years, do you have any tips for updating labels after home renovations or adding new circuits? I want to be sure my labeling stays current as my home’s layout changes.
After any renovation or when adding circuits, update your panel labels right away to avoid confusion later. Use durable, legible labels—preferably printed or written with a permanent marker on adhesive labels. Be specific with descriptions, like ‘Kitchen Lights’ or ‘Basement Outlets.’ Keep a master list in a safe spot outside the panel as a backup. Review all labels once a year to ensure they still match your home’s layout and electrical setup.
Can you give some advice on the best way to label circuits in an older house where some outlets or fixtures may be connected to unexpected breakers? How can I make sure the labels stay accurate over time?
When labeling circuits in an older house, turn off one breaker at a time and test which outlets or fixtures lose power—note each result clearly. Use a permanent marker on durable label material, like adhesive or plastic labels, and avoid paper or tape that can fall off. If you change wiring or add circuits later, update the labels right away to keep everything accurate.
The article talks about labeling being important for meeting code requirements and resale value. How can I tell if my current panel labeling is up to code, and is there a standard format inspectors are usually looking for?
To check if your panel labeling meets code, each breaker should be clearly and precisely labeled with its corresponding circuit (like ‘kitchen outlets’ or ‘bedroom lights’), rather than using vague terms such as ‘general.’ Inspectors look for legible, durable labels—handwritten is fine if it’s neat and permanent. There isn’t a universal format, but accuracy, clarity, and permanence are key. If in doubt, compare your labels with the requirements in the National Electrical Code (NEC) or ask a licensed electrician for an assessment.
If my home’s electrical panel was labeled years ago and some circuits have changed, what’s the safest way to update outdated or incorrect labels without creating confusion or violating code?
To update old or incorrect panel labels safely, first turn off the main power and verify circuits using a tester with another person’s help. Update labels clearly and neatly—use a printed or typed label if possible. Cross out old labels completely to avoid confusion. If you’re unsure about any wiring changes, consider having a licensed electrician verify the circuits and labeling to ensure you stay up to code.
You talked about the importance of accurate labels for emergencies. Do you have tips for keeping labels legible over time, especially in humid basements? I am also curious if there are labeling materials that work better than others for long-lasting readability.
To keep labels legible in humid basements, use waterproof or laminated labels, as paper labels can smudge or peel. Permanent markers with fade-resistant ink work well on vinyl or polyester label tapes. Make sure the labeling surface is clean and dry before applying. For extra durability, consider clear label covers or using a label maker designed for industrial environments.
I’m about to start labeling my electrical panel for the first time and I’m not sure how detailed I need to get. For example, should I just label by room, or get specific about which outlets or lights each breaker controls?
When labeling your electrical panel, it’s helpful to be as specific as possible. Labeling by room is a good start, but noting which outlets, lights, or major appliances each breaker controls will make future troubleshooting much easier. For example, instead of just ‘Kitchen,’ you could write ‘Kitchen – outlets and microwave.’ This extra detail will save you time and confusion down the road.
I noticed you said a well-labeled panel could improve resale value by meeting code requirements. Is there a standard format or method for labeling that potential buyers or inspectors expect to see, or can homeowners get creative with their labeling as long as it’s clear?
Homeowners should stick to clear, legible labeling using permanent markers or printed labels. Each breaker should be labeled with the specific room or appliance it controls, like ‘Kitchen Outlets’ or ‘Living Room Lights’. While some creativity is fine, inspectors and buyers expect straightforward, unambiguous descriptions. Avoid nicknames or vague terms—clarity and accuracy are key for safety and compliance.
The guide talks about code requirements and resale value. If my home’s panel has a few circuits that are hard to trace or seem mislabeled, how can I safely test which breaker controls what without risking damage or tripping something important?
To safely identify which breaker controls each circuit, turn off all electronics and unplug sensitive devices first. Then, with a helper, switch off one breaker at a time and check which outlets or lights lose power. Use sticky notes or tape to mark them as you go. Avoid testing circuits related to critical systems like refrigerators or alarms during this process to prevent disruption.
If my panel was never labeled by the previous owner, is there a safe way to test and figure out which breaker controls what without any fancy equipment, or should I hire a professional for that part?
You can safely identify which breaker controls each area without special tools. Turn off one breaker at a time and check which outlets, lights, or appliances lose power. It helps to have someone in the house to test switches as you go. Write down each result clearly. Make sure to avoid testing with wet hands or standing on wet surfaces for safety. If you feel unsure or notice any wiring issues, it’s wise to call a professional.
When labeling an electrical panel, do you recommend using pre-printed labels or is it okay to handwrite them as long as they are legible? I want to make sure it meets code if I ever sell the house.
Both pre-printed and handwritten labels are generally acceptable, as long as the labels are clear, durable, and easy to read. Handwritten labels are fine if you use a permanent marker and write neatly. Most codes don’t specify printed labels, just that circuits are accurately and legibly identified. For a more professional look and added durability—especially for home resale—pre-printed labels are a great choice.
When labeling an electrical panel as a homeowner, are there any specific materials or label types you recommend to ensure the markings remain legible and durable over time, especially in areas prone to moisture or dust?
For lasting results in areas with moisture or dust, use weatherproof or industrial-grade labels made of polyester or vinyl rather than regular paper. These materials resist fading, tearing, and moisture damage. Permanent markers work well, but for extra clarity, consider a label maker with laminated tape. Make sure to clean and dry the panel surface before applying any labels so they adhere properly.
If my electrical panel was labeled years ago and we’ve since renovated and added new circuits, do you have tips for keeping labels updated without making the panel confusing or messy?
To keep your panel organized after renovations, use printed adhesive labels for a clean look and remove any outdated ones. Number each breaker and create a master list nearby that clearly matches numbers to rooms or appliances. If circuits have been combined or changed, update the descriptions to reflect the current layout. Regularly review and tidy the labeling as your home changes.
When labeling an electrical panel, are there any recommended tools or materials for creating durable and legible labels that will last over time? I want to avoid labels fading or peeling since my basement can get humid.
For labeling in a humid basement, consider using a label maker with laminated or industrial-grade labels. These are much more resistant to moisture, fading, and peeling compared to paper labels or regular tape. Permanent markers on high-quality plastic or vinyl label tape also work well. Make sure to clean the panel surface before applying labels so they adhere securely and last longer.
If I have an older home and the circuit layout is confusing, do you have tips or a process for figuring out which breaker controls what, especially before I attempt any labeling?
Absolutely, a systematic approach can help. Start by turning off all breakers, then turn on one breaker at a time. As you do this, check which lights, outlets, or appliances become active in the house and write them down. A helper can make this process faster—one person flips breakers while the other checks rooms. Use sticky notes or masking tape to temporarily label outlets and switches as you go. Once done, document your findings before making permanent labels on the panel.
You mentioned labeling as important for emergencies like fires or electrical shorts. Are there any specific labeling colors or symbols that help first responders or electricians identify critical circuits more quickly?
Yes, using specific colors and symbols can make a big difference. Red labels are typically used for emergency circuits, such as those for smoke alarms or essential lighting. You can also use symbols like lightning bolts for high-voltage or critical circuits. Clearly marking main shut-off switches and essential equipment helps first responders and electricians act quickly in emergencies.
If my home’s previous owner already labeled our electrical panel, but some labels are handwritten or unclear, is it better to redo them all at once, or can I update the confusing ones as I discover issues while using the panel?
You don’t have to redo all the labels right away. It’s often practical to update the unclear or handwritten ones as you notice issues, especially if you use the panel regularly. Just make sure each new label is clear, durable, and consistent. Over time, you can replace all the old labels for a fully organized panel, but focusing on the confusing ones first is perfectly fine.