

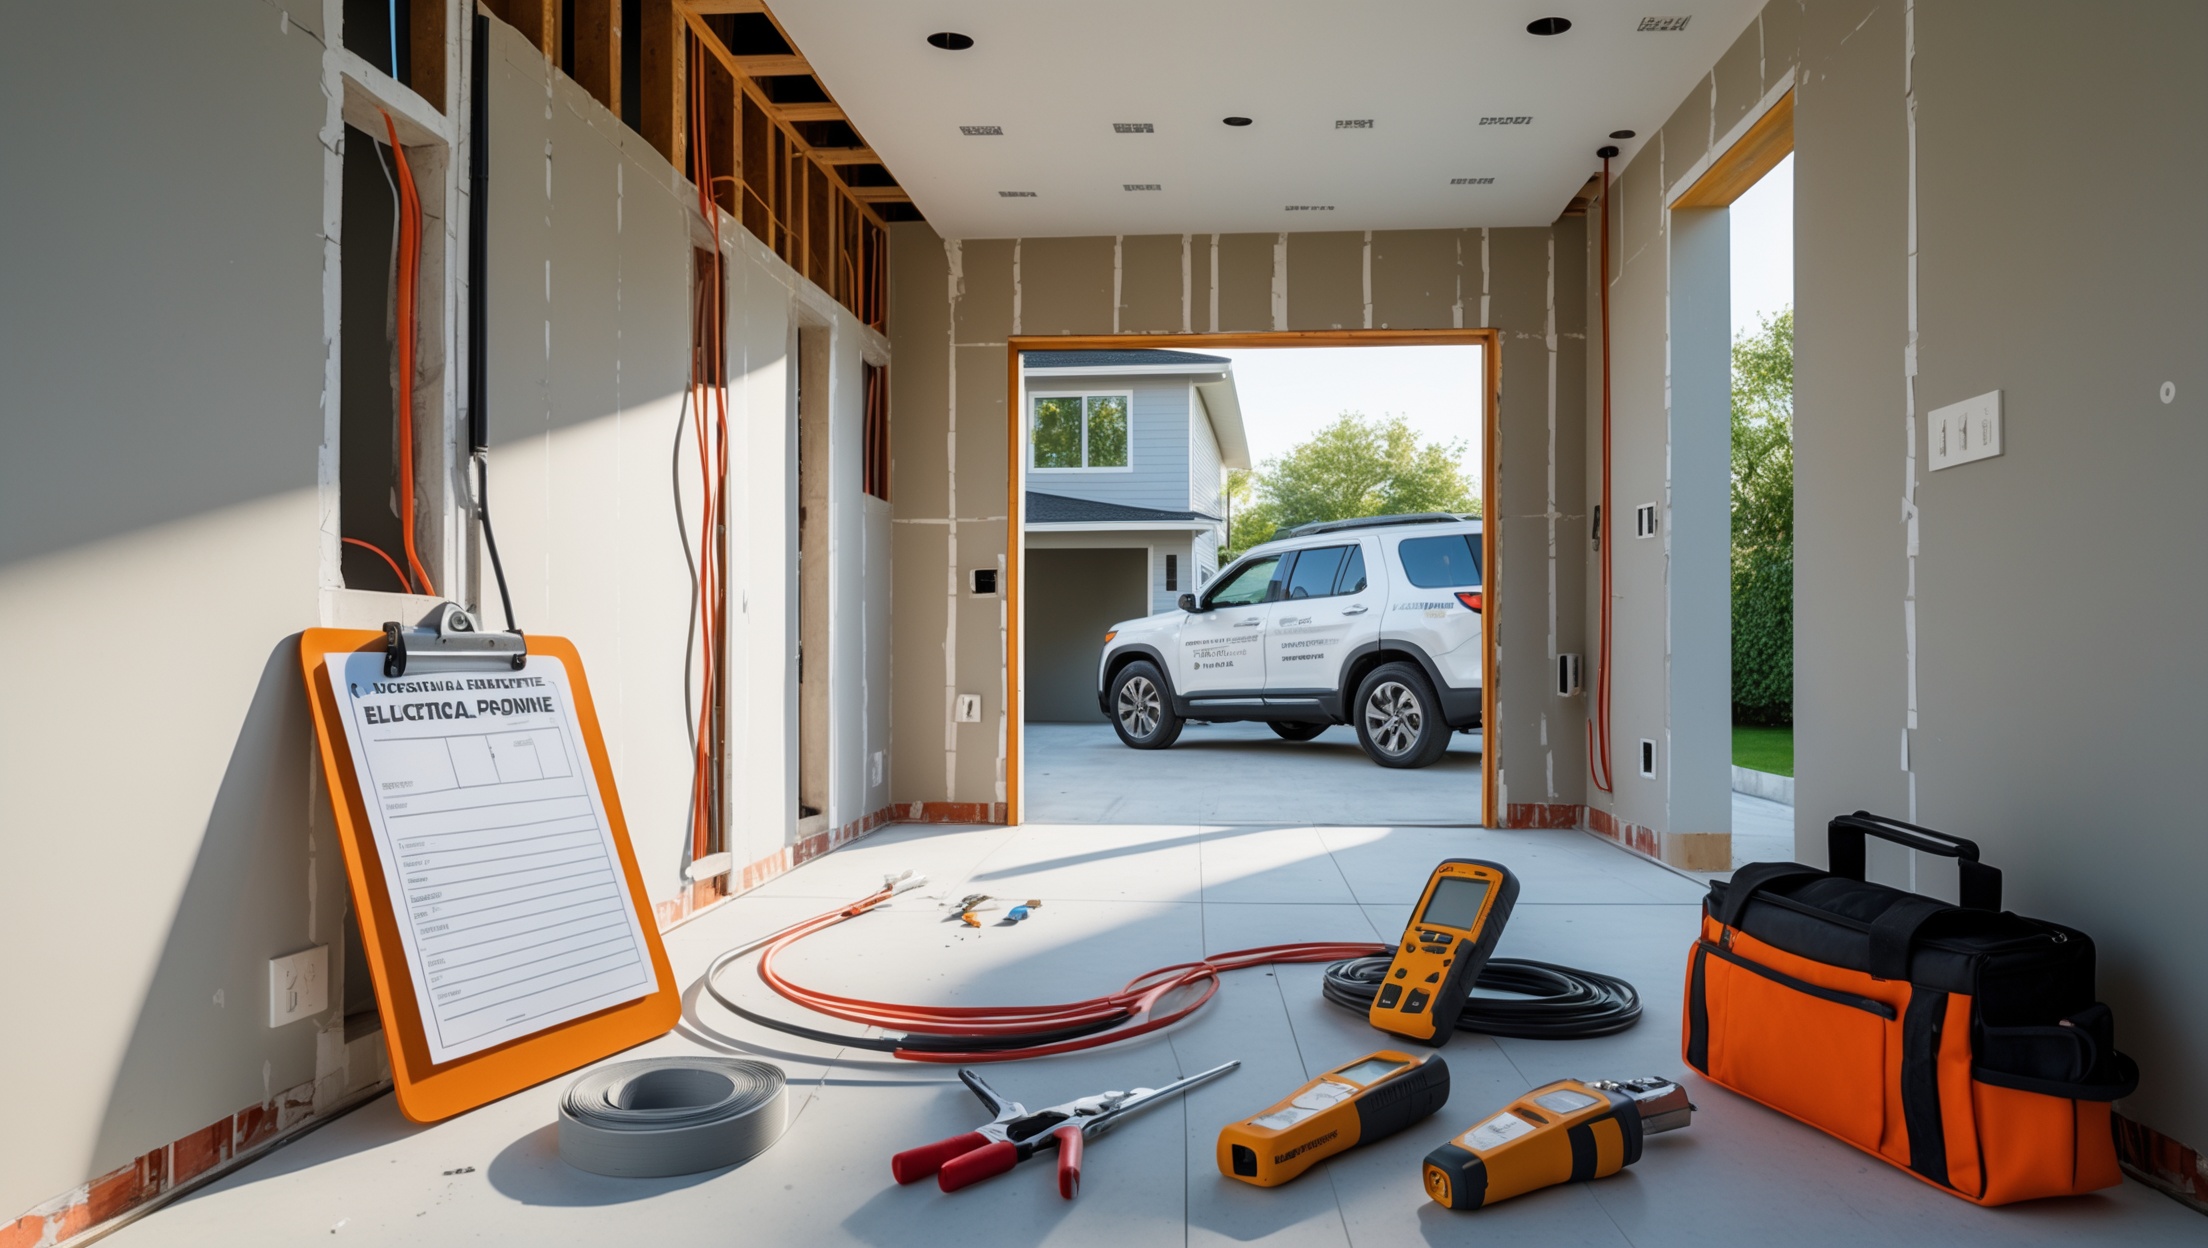
Introduction: Why Electrical Permits Matter in Home Renovations
Renovating your home can be an exciting venture, whether you’re adding a new room, updating an aging kitchen, or modernizing your entire electrical system. Amid the excitement, it’s easy to overlook a crucial aspect: electrical permits. Many homeowners aren’t aware that even seemingly minor electrical updates often require official approval. Skipping permits might save time in the short run, but it can lead to failed inspections, fines, safety hazards, insurance issues, and even trouble selling your home. Understanding when you need a permit, how to navigate the process, and the real-world risks of non-compliance is essential for any successful and safe renovation project. This guide demystifies electrical permits for home renovations, dispels common misconceptions, and walks you through each step to ensure your project is code-compliant, safe, and stress-free.
What Is an Electrical Permit?
An electrical permit is an official approval from your local building authority allowing you to perform specific electrical work. This document certifies that the proposed work meets local building codes and national safety standards, such as the National Electrical Code (NEC) in the United States or the Canadian Electrical Code (CEC) in Canada.
- Purpose: Protects homeowners from substandard work, reduces fire and shock hazards, and ensures proper inspection.
- Who Issues It? Usually your city or county’s building department or permitting office.
- When Required: For new installations, major modifications, and many upgrades—not just new builds.
When Do You Need an Electrical Permit?
The requirements vary by jurisdiction, but in most areas, you need a permit for:
- Installing new circuits or outlets
- Upgrading or replacing breaker panels or subpanels
- Adding dedicated circuits for appliances (e.g., ovens, EV chargers)
- Running new wiring or rewiring existing circuits
- Installing lighting in new locations
- Electrical work in additions, garages, or outbuildings
- Outdoor wiring or exterior lighting
Some minor repairs—like replacing a broken outlet or light switch with the same type—may not require a permit, but exceptions apply. Always check with your local permitting authority before proceeding.
Common Projects That Require Permits
- Kitchen or bathroom remodels involving electrical updates
- Basement finishing with new outlets or lighting
- Adding exterior outlets for landscaping or security lighting
- Installing a generator transfer switch
Projects That May Not Need Permits
- Replacing existing light fixtures with similar ones
- Changing light bulbs or plugging in appliances
- Replacing a faceplate or breaker (in some areas)
When in doubt, always verify with your local authority. The risk of assuming you don’t need a permit can have serious consequences.
Risks of Skipping Electrical Permits
It’s tempting to bypass the permit process to save time or money, but the risks are substantial and often long-lasting:
- Failed Inspections: Unpermitted work can lead to failed inspections when selling or refinancing your home, requiring expensive corrections.
- Fines and Penalties: Many cities levy significant fines for unpermitted work—sometimes doubling the permit fees or requiring demolition and rework.
- Insurance Issues: If an electrical fire occurs due to unpermitted work, insurance claims may be denied. You could be left covering the entire cost of damages.
- Safety Hazards: Uninspected work increases the risk of electrical shock, fire, and code violations that threaten your family’s safety.
- Resale Roadblocks: Many home sales are delayed or derailed when unpermitted work is discovered during the closing process.
Permits aren’t just red tape—they’re a vital safeguard for your home and family.
How to Apply for an Electrical Permit: Step-by-Step
1. Determine Permit Requirements
Start by contacting your local building department or visiting their website. Many jurisdictions offer permit requirement charts or checklists. Be ready to describe your project in detail.
2. Prepare Project Details
- Project address and property details
- Scope of work (what you’re installing or modifying)
- Electrical plans or diagrams (for complex jobs)
- Contractor’s license info (if hiring a professional)
3. Submit Application
Most cities allow online applications, while others require in-person visits. You’ll fill out a form describing the work, provide plans, and pay a fee. Fees typically range from $50 to several hundred dollars, depending on project size.
4. Review and Approval
The permitting office reviews your application for code compliance. For larger projects, plan review may take several days or weeks.
5. Start Work
After receiving approval, you may begin work. Post the permit visibly at the job site as required.
6. Schedule Inspections
Inspections are typically required at key stages:
- Rough-in Inspection: After wiring is installed but before walls are closed up.
- Final Inspection: After all devices, outlets, and fixtures are installed and operational.
Contact your inspector or use your city’s online portal to schedule. If corrections are required, address them promptly and request a re-inspection.
7. Permit Sign-Off
Once the final inspection passes, the permit is closed. Keep all documentation for your records and future home sales.
What Inspectors Look For: Keys to Passing Inspection
- Proper wire gauge and ampacity for each circuit
- Correct breaker and outlet installation
- Securely fastened boxes and fixtures
- Grounding and bonding per code
- GFCI/AFCI protection where required
- No exposed live wires
- Wiring neatness and identification
- Compliance with setback requirements (e.g., outlets near sinks)
Preparation is key: double-check code requirements, label your circuits, and have your plans and permit paperwork ready for the inspector’s review.
DIY vs. Professional: Who Can Pull a Permit?
Homeowners are often allowed to pull permits for work on their primary residence—if they perform the work themselves. However, some cities require a licensed electrician for complex jobs or for work in rental or multi-family properties.
- Homeowner Permits: Usually allowed for single-family homes you occupy.
- Licensed Electrician Permits: Required for contractors or for work in rentals, commercial properties, or complex projects.
Always check your city’s requirements, as rules vary. If you’re unsure about performing electrical work safely, it’s wise to hire a professional.
Cost Breakdown: What to Expect for Electrical Permits
- Basic Permit: $50–$150 for minor jobs (adding outlets, light fixtures)
- Major Projects: $200–$500+ for panel upgrades, whole-house rewiring, or major remodels
- Plan Review Fees: Additional charges for large or complex jobs
- Inspection Fees: Often included, but extra inspections may incur small charges
While permit fees can seem like an added expense, they’re minor compared to the potential costs of fines, rework, or insurance claims denial.
Electrical Permit Myths Debunked
- Myth: “If I do the work myself, I don’t need a permit.”
Fact: Most DIY electrical work requires a permit unless expressly exempted. - Myth: “Small jobs like adding an outlet don’t need permits.”
Fact: Adding circuits or outlets almost always requires a permit, even if it seems minor. - Myth: “Permits are just a money grab.”
Fact: Permit fees fund inspections, which protect you and future occupants from hazards. - Myth: “Unpermitted work is never discovered.”
Fact: Home inspections, insurance claims, and even neighbors can bring unpermitted work to light—sometimes years later.
What Happens If You Discover Unpermitted Electrical Work?
Perhaps you’ve purchased a home and later discovered hidden, unpermitted electrical upgrades. Here’s how to address it:
- Contact the Local Permit Office: Explain the situation and ask about retroactive permitting (often called a “permit after the fact”).
- Schedule an Inspection: An inspector may require you to expose wiring or verify safety before issuing a retroactive permit.
- Correct Deficiencies: Be prepared to correct any code violations—sometimes requiring partial demolition to access concealed work.
- Document Everything: Keep records of corrections and inspections for future sales or insurance claims.
While it can be inconvenient, legalizing unpermitted work protects your investment and keeps your family safe.
Best Practices for a Smooth Electrical Permit Experience
- Plan Ahead: Build time for permit review and inspections into your renovation schedule.
- Communicate Clearly: Provide detailed project descriptions and diagrams to avoid misunderstandings.
- Stay Organized: Keep all permit documents, inspection reports, and code references in a dedicated folder.
- Respect the Inspector: Inspectors are allies, not adversaries. Ask questions and address issues promptly.
- Don’t Cut Corners: Quality and compliance matter more than speed. Never conceal work before it’s inspected.
- Keep Records: A well-documented permit history adds value and credibility when selling your home.
Conclusion: Compliance Is an Investment in Safety and Value
Electrical permits might seem like a bureaucratic hurdle, but they serve a vital purpose. They ensure that your renovation work is done safely, adheres to modern code, and is thoroughly inspected by a qualified professional. Skipping permits can endanger your family, expose you to legal and financial risks, and undermine your home’s value. In contrast, obtaining the right permits builds confidence in your project, speeds up resale, and can even lower insurance premiums due to documented safety.
If you’re unsure about permit requirements, don’t take chances—consult your local building department or a licensed electrician before starting work. The small investment of time and money in the permit process pays off in peace of mind, protection against hazards, and a smoother path if you ever decide to sell your home.
Remember, electrical permits aren’t just paperwork—they’re a critical tool that empowers you to create safer, more reliable, and legally sound living spaces for years to come.