

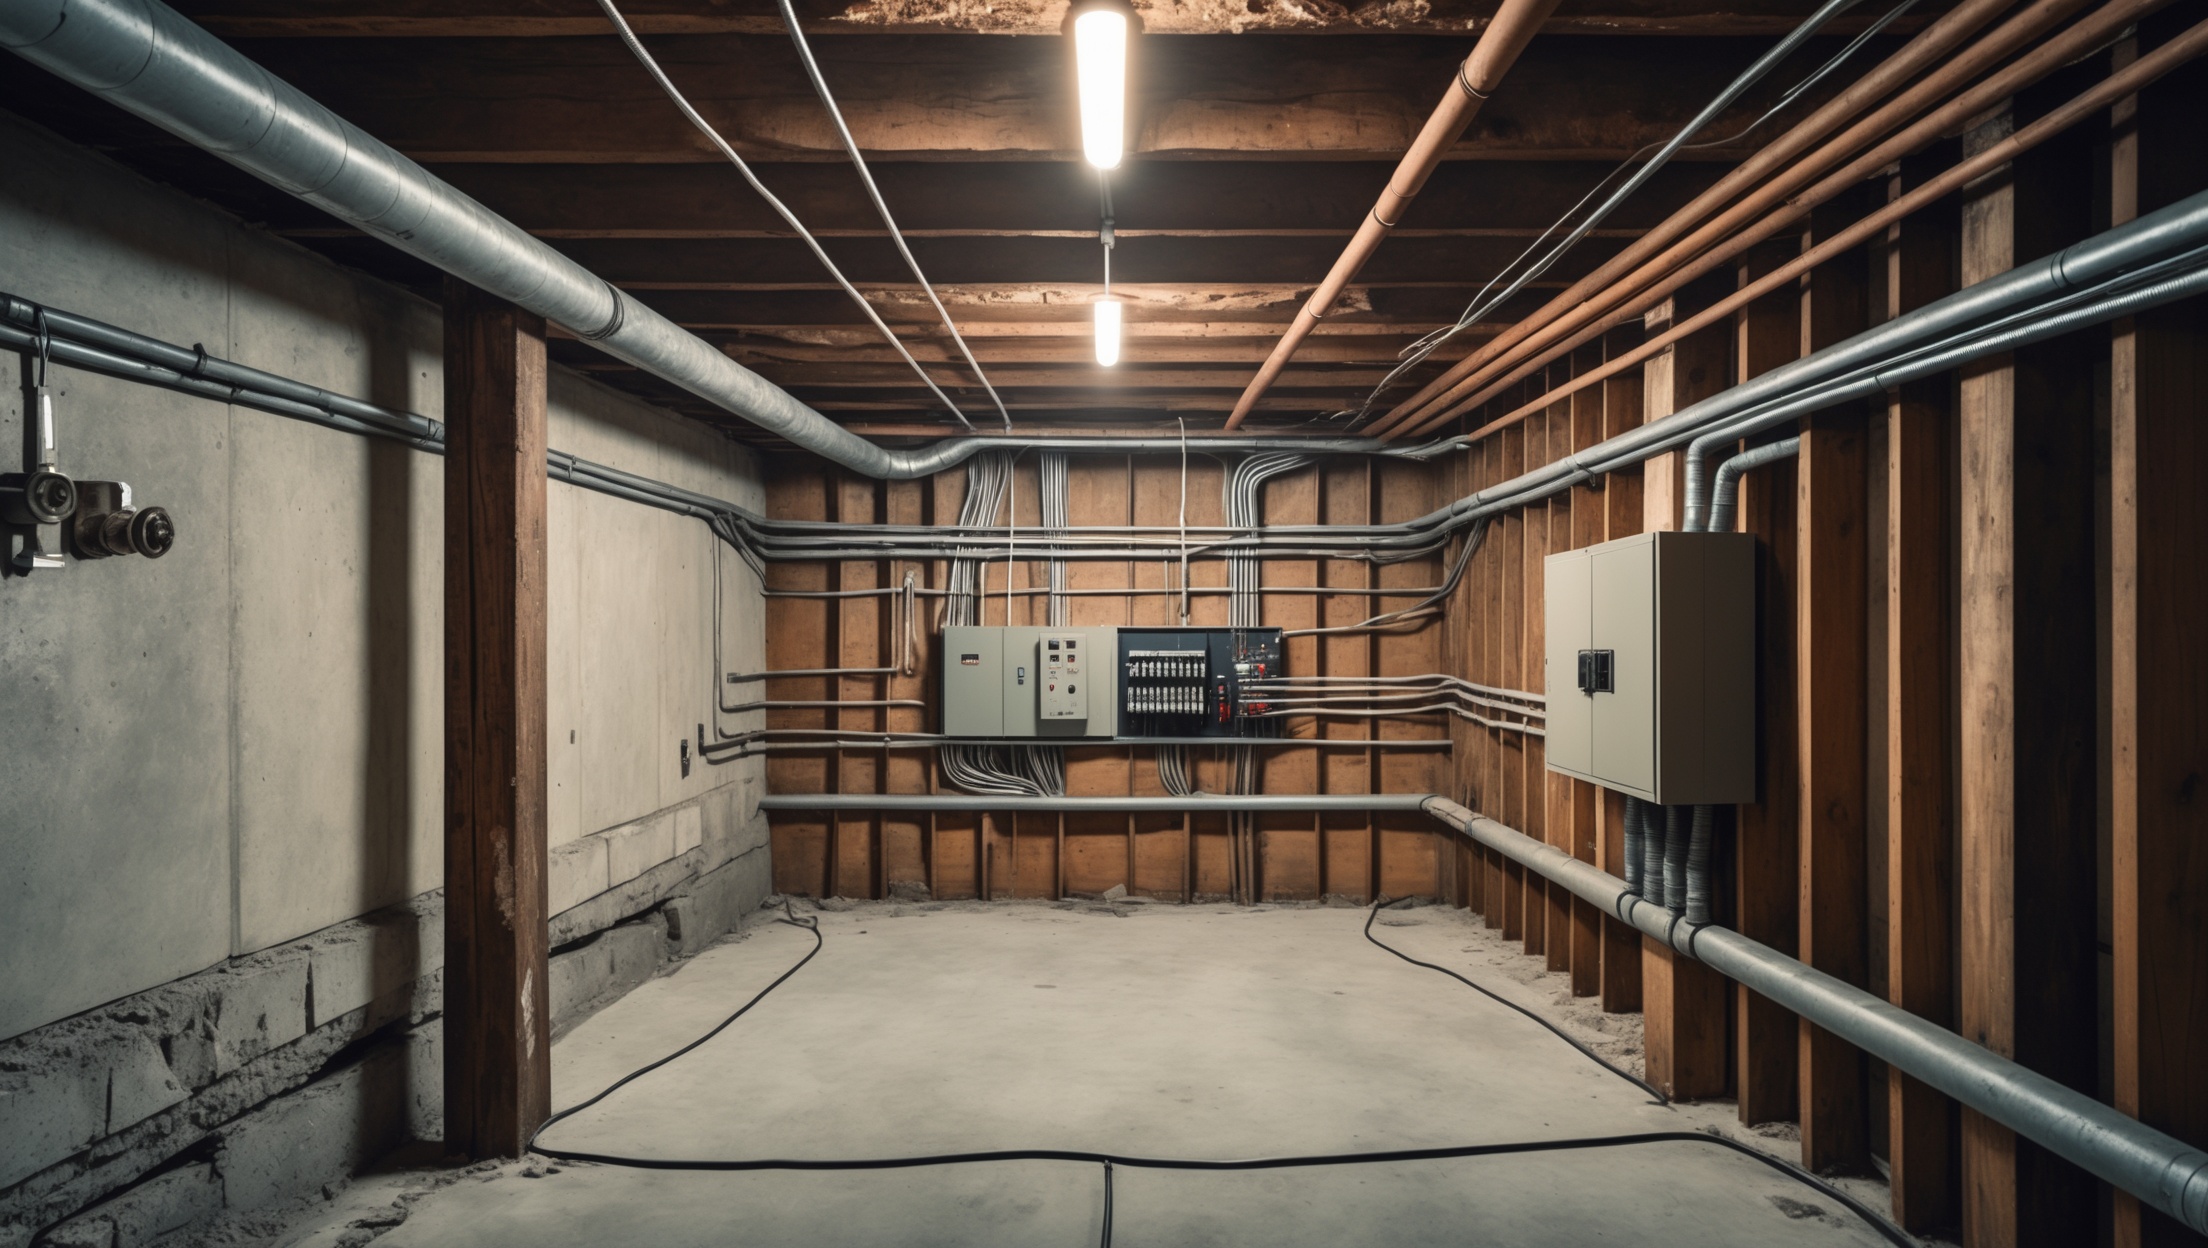
Introduction: Why Replacing Knob-and-Tube Wiring Matters
If your home was built before the 1950s, there’s a good chance it still contains knob-and-tube (K&T) wiring—a system once considered cutting-edge, but now widely regarded as outdated and hazardous. Homeowners often discover knob-and-tube wiring during renovations, home inspections, or when insurance companies refuse coverage until an upgrade is performed. The wiring’s age, lack of grounding, and inability to support modern electrical loads present significant safety risks, including heightened fire hazards. Furthermore, many municipalities and insurance providers require its removal, making replacement not just a matter of safety, but of compliance and property value preservation. However, the process of replacing knob-and-tube wiring can be daunting: costs can vary dramatically, project timelines are often underestimated, and many homeowners are unaware of the challenges involved—from budgeting and permits to dealing with lath-and-plaster walls. This guide provides a thorough breakdown of what it really takes to replace knob-and-tube wiring, including cost factors, safety priorities, permit and code requirements, and practical project planning tips to ensure a smooth upgrade for your home.
Understanding Knob-and-Tube Wiring: Risks and Limitations
What is Knob-and-Tube Wiring?
Knob-and-tube wiring was the standard method for electrical installation in North America from the 1880s through the 1940s. It consists of single insulated copper wires strung through ceramic knobs (which support the wires) and tubes (which protect wires passing through wood framing).
- No Ground Wire: K&T wiring lacks a ground wire, increasing the risk of electrocution and making it incompatible with modern three-prong outlets and appliances.
- Limited Load Capacity: Originally designed for minimal electrical loads, K&T cannot safely support today’s power-hungry devices and HVAC equipment.
- Degraded Insulation: The insulation, typically made of rubber or cloth, becomes brittle and deteriorates over time, exposing live wires.
- Improper Modifications: Many K&T systems have been modified over decades, often with dangerous splices or connections to modern wiring.
Safety and Insurance Implications
Major insurance carriers often refuse to cover homes with active K&T wiring due to increased fire risk. Some municipalities mandate its removal, and failures can result in total loss of coverage or denial of claims if a fire is linked to old wiring. In addition to insurance, K&T wiring fails to meet modern electrical codes, especially as related to grounding, circuit capacity, and the use of GFCI and AFCI protection.
Cost Breakdown: What to Expect When Budgeting Your Project
National and Regional Averages
The cost of replacing knob-and-tube wiring varies widely depending on the size of your home, regional labor rates, accessibility, and finish requirements. On average, expect:
- Small Home (1,000–1,500 sq. ft.): $8,000–$15,000
- Medium Home (1,500–2,500 sq. ft.): $12,000–$25,000
- Large Home (2,500+ sq. ft.): $20,000–$40,000+
These figures generally include labor, materials, and basic repairs, but may not cover unforeseen complications.
Major Cost Factors
- Accessibility: Homes with accessible basements, attics, or crawlspaces cost less to rewire than those with finished or inaccessible spaces.
- Wall Construction: Lath-and-plaster walls are more challenging (and expensive) to open and repair than drywall.
- Scope of Work: The number of circuits, outlets, and fixtures being replaced or added significantly affects total cost.
- Electrical Panel Upgrades: Many K&T homes require a new panel to accommodate modern circuits and safety devices.
- Permits and Inspections: Permit fees vary by region and can add $500–$2,000 to the project.
- Finishing Repairs: Patching and repainting walls or ceilings can be a significant portion of the budget.
- Unforeseen Issues: Hidden damage, asbestos, or surprises behind walls may increase costs.
Sample Budget Breakdown
- Labor (50–60%): $6,000–$18,000
- Materials (20–30%): $2,000–$7,000
- Permit and Inspection Fees (5–10%): $500–$2,500
- Finishing Repairs (10–20%): $2,000–$5,000
- Contingency/Unexpected Issues (10%): $1,000–$3,000
Obtaining Permits and Ensuring Code Compliance
Why Permits Are Non-Negotiable
Electrical work, especially full-home rewiring, is strictly regulated. Permits are required not only to satisfy municipal authorities but also to ensure your insurance remains valid and future real estate transactions are not jeopardized. Inspections ensure the work meets safety standards and that all K&T wiring is completely decommissioned.
The Permit Process
- Application: Submit a detailed scope of work, including a diagram of new circuits and outlets.
- Approval: The city reviews your plan; amendments may be requested.
- Rough-In Inspection: Inspectors check new wiring before walls are closed.
- Final Inspection: After walls are repaired, inspectors confirm all wiring is up to code and K&T is disconnected.
Expect permit fees and possible delays if your municipality has a backlog of inspections or if your home is designated as historic.
Choosing the Right Electrician: Credentials and Red Flags
What to Look For
- Licensing: Ensure your contractor is licensed and insured to work in your jurisdiction.
- Experience: Prioritize electricians with documented experience in knob-and-tube replacement, as this is a specialized skill.
- References: Ask for references from previous K&T replacement clients, not just generic rewiring.
- Detailed Quote: A professional should provide a line-item estimate, including contingencies for repairs and permits.
- Warranty: Reputable electricians guarantee their work and provide documentation for future home sales.
Red Flags to Watch Out For
- Unusually Low Bids: May indicate shortcuts, lack of insurance, or non-compliance with code.
- Reluctance to Pull Permits: Always insist on permitted work. Unpermitted rewiring can void insurance and create resale nightmares.
- Vague Timelines: An experienced electrician should provide a clear project schedule and communicate delays transparently.
Project Planning: Timelines, Living Arrangements, and Minimizing Disruption
Typical Project Timeline
- Planning and Permits: 1–3 weeks
- Rough-In (Wiring Installation): 1–2 weeks for small homes; 2–4 weeks for larger homes
- Inspection and Finishing Repairs: 1–2 weeks
- Total Estimated Time: 3–8 weeks depending on home size, complexity, and availability of inspectors and contractors.
Do You Need to Move Out?
Rewiring is invasive. While some electricians can work one room at a time to minimize disruption, you’ll likely lose power for stretches and have areas of your home opened up. Consider temporary accommodations if you:
- Work from home and require consistent electricity
- Have young children, elderly, or pets sensitive to dust and noise
- Are sensitive to construction disruption or lack of privacy
At minimum, secure essentials—bathroom, kitchen, and at least one living space—throughout the project. Discuss logistics in advance with your contractor.
Protecting Furnishings and Personal Property
- Move furniture away from walls and cover with plastic sheeting
- Remove valuables and electronics from work areas
- Expect dust and debris—plan for thorough cleaning after completion
What Happens During the Replacement Process?
Step 1: Assessment and Planning
The electrician performs a walkthrough to identify all K&T circuits, map out new wiring routes, and determine locations for new outlets, switches, and fixtures. Some original wiring may be hidden behind walls, ceilings, or in crawlspaces—full access is essential.
Step 2: Demolition and Wiring
- Holes are cut in walls or ceilings to run new wiring
- All accessible K&T wiring is disconnected and removed or permanently decommissioned
- Modern NM (nonmetallic) sheathed cable or MC (metal-clad) cable is installed, with all new outlets grounded
- GFCI/AFCI protection added as required by code
- New breaker panel installed if needed
Step 3: Inspection and Code Compliance
The rough-in inspection confirms correct wire routing, proper connections, grounding, and safety device installation. Any issues must be corrected before walls are closed.
Step 4: Patching and Restoration
- Repair holes in walls and ceilings
- Repaint and restore finishes as agreed in your contract
- Final inspection ensures all work is up to code and safe for occupancy
Hidden Challenges and Common Pitfalls
Historic Homes and Lath-and-Plaster Walls
Older homes with lath-and-plaster walls require careful handling to minimize damage. Restoration can be costly, and in some historic districts, specific materials or techniques may be mandated. Always consult local regulations before starting work.
Asbestos and Lead Paint Hazards
Homes built before 1978 may contain asbestos (in insulation, flooring, or wall materials) and lead paint. If suspected, hire licensed abatement professionals before beginning demolition. This can add significantly to both cost and timeline.
Partial vs. Complete Replacement
Some homeowners are tempted to replace only visible or easily accessible K&T wiring. Most inspectors and insurance companies require full removal or permanent disconnection of all K&T circuits. “Mixing” old and new wiring can create additional risks and is rarely permitted.
Maximizing Value: Energy Efficiency and Future-Proofing
Upgrading Outlets, Circuits, and Smart Home Features
- Install additional outlets to eliminate extension cords and adapt to modern device usage
- Plan for dedicated circuits for kitchens, bathrooms, and HVAC
- Consider wiring for smart home devices, security systems, and EV chargers
Energy Efficiency Opportunities
- Switch to LED lighting and smart switches
- Integrate programmable thermostats, occupancy sensors, and energy monitoring devices
- Seal wall penetrations around new wiring to improve insulation and reduce drafts
Discuss these upgrades with your electrician during the planning phase—they are far less costly to implement during a full rewiring than as later add-ons.
After the Upgrade: Documenting and Maintaining Your New System
Keep Records for Insurance and Resale
- Obtain and retain all permits, inspection reports, and warranties
- Request a detailed wiring diagram from your electrician
- Take photos of wiring before walls are closed for future reference
Ongoing Maintenance Best Practices
- Schedule periodic electrical inspections—every 5–10 years
- Test GFCI/AFCI outlets monthly
- Document any electrical modifications or repairs in a maintenance log
Conclusion: Making a Safe and Smart Investment
Replacing knob-and-tube wiring is a major investment, but it’s one that pays dividends in safety, property value, and peace of mind. By understanding the true costs—from labor and materials to permits and finishing repairs—you can budget realistically and avoid unpleasant surprises. Prioritize hiring a qualified, experienced electrician and insist on permitted, code-compliant work. Don’t overlook planning for wall repairs, temporary living arrangements, or the opportunity to add new features and increase your home’s energy efficiency.
The process is disruptive, but temporary inconvenience is a small price to pay for eliminating fire hazards, improving insurability, and future-proofing your home for decades to come. Take the time to document your upgrade, keep maintenance records, and communicate openly with your contractor throughout the project. With proper planning and execution, knob-and-tube replacement transforms your home from a relic of the past into a safe, functional, and valuable asset for the future.
If you’re considering this upgrade, consult local electricians for estimates, research your municipality’s permit requirements, and don’t hesitate to ask questions—an informed homeowner is a safe homeowner. The investment you make today will protect your family, your property, and your financial future.
Could you elaborate on what homeowners should expect when it comes to getting permits for a knob-and-tube replacement? Are these usually handled by the electrician, and how much extra time should we budget for permit approval, especially in older neighborhoods?
When replacing knob-and-tube wiring, permits are almost always required for safety and code compliance. Licensed electricians typically handle obtaining permits as part of their service, so homeowners usually don’t need to manage this themselves. In older neighborhoods, permit approval can take anywhere from a few days to a couple of weeks, depending on local regulations and inspection schedules, so it’s wise to factor in some extra time for this step.