

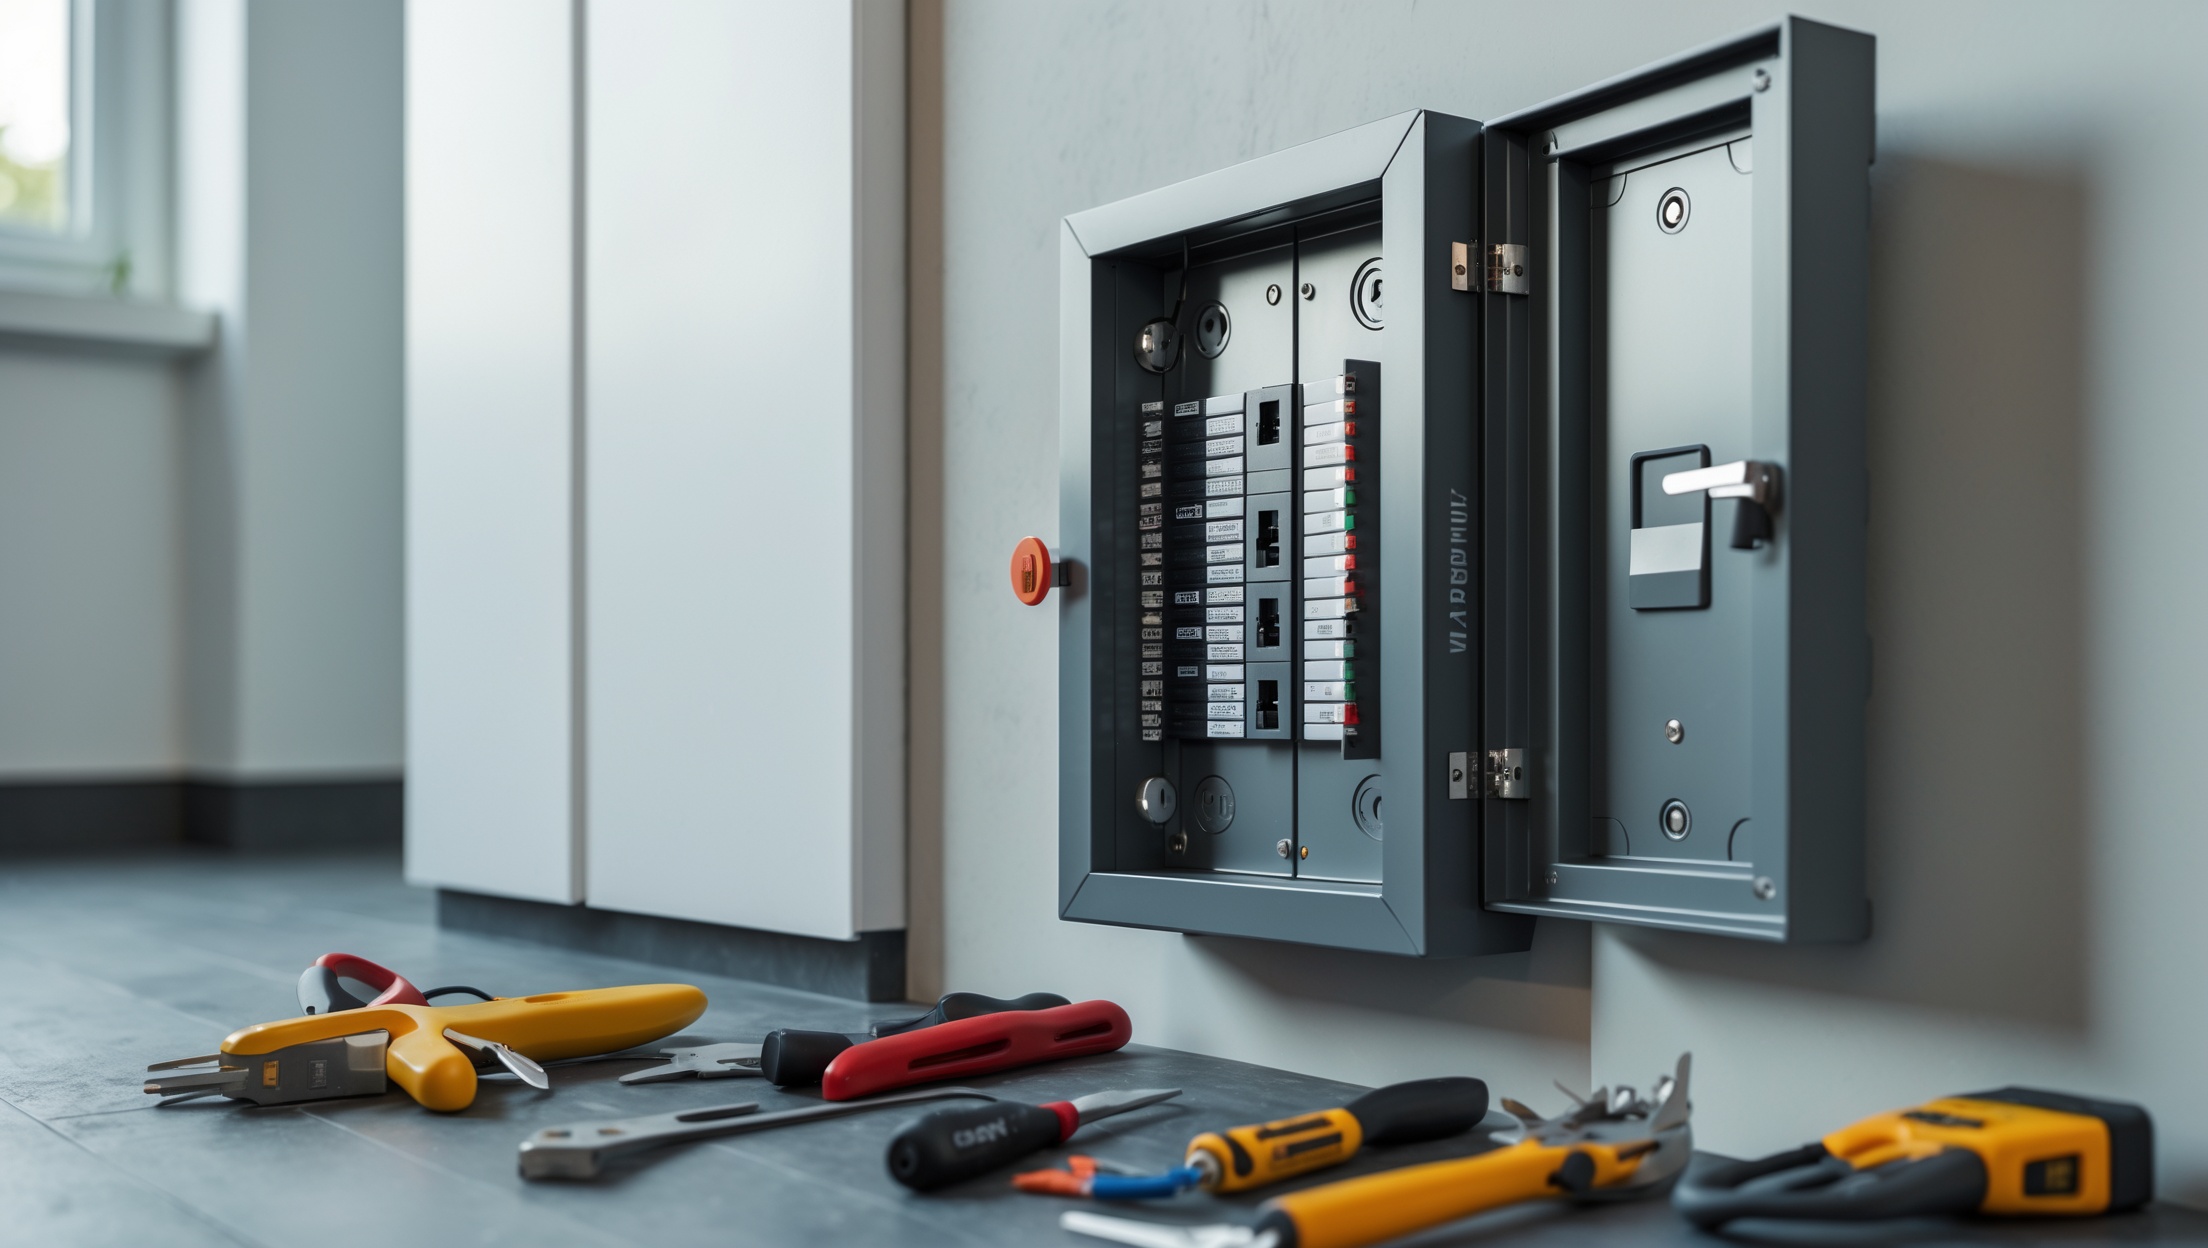
Introduction: Why Breaker Box Upgrades Matter
Your breaker box—also known as a service panel or electrical panel—is the nerve center of your home’s electrical system. It safely distributes power to every circuit, protects your wiring from overload, and keeps your family and property secure. However, as homes age and electrical demands increase—thanks to home offices, electric vehicles, and smart appliances—older panels can quickly become outdated or even hazardous.
Upgrading your breaker box isn’t just about keeping up with modern energy needs. It’s a crucial investment in safety, reliability, and the ability to add new features (like EV chargers or whole-house surge protection). Yet, many homeowners hesitate to start this project, fearing high costs, drawn-out power outages, and a confusing permitting process. This guide breaks down how to plan a breaker box upgrade with confidence, create a realistic budget, and minimize downtime—so you can keep your home running smoothly from start to finish.
Understanding Your Breaker Box: Types, Signs of Trouble, and Upgrade Triggers
Types of Breaker Boxes
- Main Breaker Panel: The primary service panel for most homes, controlling all branch circuits and featuring a main shutoff.
- Subpanel: Secondary panels that extend circuits to additions, garages, or outbuildings.
- Fuse Box: Found in older homes, these use fuses instead of breakers and signal an urgent need for upgrade.
When Is an Upgrade Necessary?
- Insufficient Amperage: Older panels may offer only 60 or 100 amps, while modern homes often require 150–200 amps or more.
- Frequent Tripping: Breakers that trip often can suggest overloaded circuits or failing components.
- Visible Damage: Signs of corrosion, scorch marks, buzzing, or a warm panel are red flags.
- Expansion Needs: Adding major appliances, HVAC, EV chargers, or a home addition may exceed your current panel’s capacity.
- Outdated Brands: Panels from brands like Federal Pacific or Zinsco are known hazards and should be replaced.
Planning Your Breaker Box Upgrade: Steps for Success
Step 1: Assess Your Current and Future Power Needs
Before choosing a new panel, create an inventory of your home’s major appliances, HVAC, water heater, and any planned additions. Use recent utility bills to estimate total load, and consider future upgrades (like solar, EVs, or a hot tub). An electrician can perform a load calculation to ensure your new panel is sized correctly.
Step 2: Research Local Codes and Permit Requirements
Electrical work is tightly regulated. Most municipalities require permits for panel replacements, and inspections ensure safety and code compliance. Check with your city or county’s building department for:
- Required permits and application process
- Licensed electrician requirements
- Inspection scheduling and what to expect
- Specifics about grounding, bonding, and panel location
Step 3: Choose the Right Panel and Components
- Amperage: 200 amps is standard for new homes; larger homes or those with high energy needs may require more.
- Space for Expansion: Choose a panel with extra slots for future circuits.
- Quality Brand: Opt for reputable brands (Square D, Siemens, Eaton, Leviton).
- Safety Upgrades: Consider panels with integrated surge protection or smart monitoring.
Breaker Box Upgrade Cost Breakdown: What to Expect
Panel and Material Costs
- Standard 200-amp panel: $150–$400
- Upgraded/smart panel: $500–$2,000+
- Breakers (per circuit): $10–$60 (AFCI, GFCI, dual function types cost more)
- Miscellaneous: Grounding rods, wires, conduit, connectors ($50–$200)
Labor and Professional Fees
- Licensed electrician (panel changeout): $1,000–$3,000, depending on complexity and region
- Permits and inspections: $50–$500
- Utility disconnect/reconnection fee: $0–$500 (some utilities charge for temporary power cutoff during work)
Potential Extra Costs
- Upgrading service entrance wiring
- Repairing drywall, painting, or patching after installation
- Relocating the panel (if required by code)
- Addressing unsafe wiring discovered during the upgrade
Budgeting Strategies: Avoiding Surprises
Get Multiple Quotes
Always request at least three detailed quotes from licensed electricians. Ask for itemized breakdowns so you can compare labor, materials, and permit costs side by side. Be wary of unusually low bids—these may signal unlicensed work or omitted code requirements.
Ask About Hidden Costs
Discuss possible scenarios that may impact costs, such as:
- Panel relocation (required for clearance or flood zones)
- Upgrading the grounding system
- Rewiring or replacing outdated branch circuits
Plan for Contingencies
Set aside an extra 10–20% in your budget for unexpected repairs or upgrades discovered during the project. Electrical codes change over time, and older homes often have surprises behind the walls.
Minimizing Downtime: How to Keep Your Home Running
Understanding the Downtime Window
During a panel replacement, your home’s power will be shut off—often for 4–8 hours, though complex jobs can take longer. This can disrupt your work, refrigerated food, and comfort. Here’s how to minimize the impact:
Step 1: Schedule Strategically
- Book the upgrade for a weekday morning, when electricians are fresh and utility companies are available.
- Check the weather—avoid extreme heat or cold if your HVAC will be offline.
- Notify household members, tenants, or businesses about the outage window.
Step 2: Coordinate with Your Utility Provider
Some upgrades require the utility to disconnect and later reconnect power. Your electrician will usually handle scheduling, but confirm the date and time to avoid delays. If your utility charges for this service, factor it into your budget.
Step 3: Prepare Your Home
- Unplug sensitive electronics and surge protectors.
- Charge phones, laptops, and backup batteries the night before.
- Plan meals that don’t require cooking or note which appliances will be unavailable.
- Keep flashlights and lanterns ready for interior spaces without natural light.
- If you rely on medical devices, arrange for alternative power or temporary relocation.
- Protect pets from stress by keeping them in a quiet, secure area.
Step 4: Temporary Power Options
If you can’t be without power for several hours—such as for medical needs, remote work, or refrigeration—consider:
- Portable Generator: Safely run key appliances (with proper extension cords and outdoor placement only).
- Uninterruptible Power Supply (UPS): Keep Wi-Fi and computers running for short periods.
- Battery Backup: Maintain minimal lighting or device charging.
Discuss any backup power plans with your electrician, as improper generator connections can endanger workers and equipment.
Step-by-Step: What Happens During a Breaker Box Replacement
- 1. Power Shutoff: The electrician coordinates with the utility to cut power at the meter.
- 2. Panel Removal: Old panel and breakers are disconnected and removed; circuits are carefully labeled.
- 3. Inspection and Repairs: Wiring is checked for code compliance, damage, or outdated materials.
- 4. New Panel Installation: The new panel is mounted, circuits reconnected, and grounding/bonding updated as needed.
- 5. Utility Reconnection: The utility restores power; the electrician tests all circuits.
- 6. Final Inspection: A municipal inspector reviews the installation before final sign-off.
Post-Upgrade Checklist: Ensuring Safety and Longevity
- Confirm all circuits are labeled accurately for quick troubleshooting in the future.
- Check for warm spots, buzzing, or unusual smells from the new panel over the next few days.
- Request all permits and inspection documentation for your records and insurance.
- Ask your electrician about recommended future upgrades—like AFCI breakers, surge protection, or smart monitoring systems.
- Schedule periodic panel inspections every 3–5 years, especially if you add more circuits or appliances.
Common Breaker Box Upgrade Mistakes to Avoid
- DIY Installation: Panel replacement is not a DIY project; mistakes can be catastrophic. Always hire a licensed, insured electrician.
- Underestimating Capacity: Choosing a panel that matches your current needs, but not future growth, can require another upgrade sooner than expected.
- Poor Labeling: Failing to clearly label circuits causes confusion or safety risks during emergencies.
- Ignoring Code Updates: Panels must meet the latest National Electrical Code (NEC) and local amendments.
- Skipping Permit/Inspection: Unpermitted work can void homeowner’s insurance and hinder home sales.
Frequently Asked Questions
How long does a breaker box upgrade take?
Most residential projects take one full day, including power shutoff, panel swap, reconnection, and inspection. More complex jobs (service upgrades, rewiring) may require up to two days.
Will my insurance rates change?
Upgrading to a modern, code-compliant panel can lower risk and may reduce premiums. Provide your insurer with documentation of the upgrade.
Can I upgrade my panel without replacing all wiring?
Often yes, if your existing wiring is in good condition and meets code. However, outdated or unsafe wiring may need replacement, especially for grounding or aluminum wiring issues.
What if I want to add solar panels or an EV charger later?
Discuss future upgrades with your electrician up front. Choosing a panel with extra capacity and expansion slots saves money and hassle down the road.
Conclusion: Investing in Your Home’s Safety and Future
Upgrading your breaker box is one of the smartest improvements you can make for your home’s electrical safety, functionality, and resale value. By understanding your current and future power demands, budgeting wisely, and planning for minimal downtime, you set your household up for years of trouble-free power. Remember, the process isn’t just about swapping a panel—it’s about ensuring every circuit in your home is protected and ready to meet modern demands.
Don’t let concerns about cost or inconvenience prevent you from upgrading a panel that’s past its prime. With careful planning, transparent communication with your electrician, and a clear understanding of the steps involved, you can complete a breaker box replacement with confidence. Not only will you enjoy peace of mind knowing your system is up to code, but you’ll also be prepared for future upgrades—whether that’s an electric car, solar panels, or a new home office. Above all, trust the experts for this project: electrical panels are not the place to cut corners or attempt DIY fixes. Your family’s safety and comfort are always worth the investment.
I noticed the article mentions that older panels might only provide 60 or 100 amps, while modern homes often need 150–200 amps. If I plan to add equipment in my small business, how do I determine the right amperage before scheduling an upgrade?
To determine the right amperage for your upgrade, start by listing all the equipment and devices you plan to use, including their wattage or amperage ratings. Add up the total expected load, factoring in both current and any future additions. It’s best to consult a licensed electrician, who can perform a load calculation based on your business’s specific needs and recommend the appropriate panel size to ensure safe and reliable operation.