

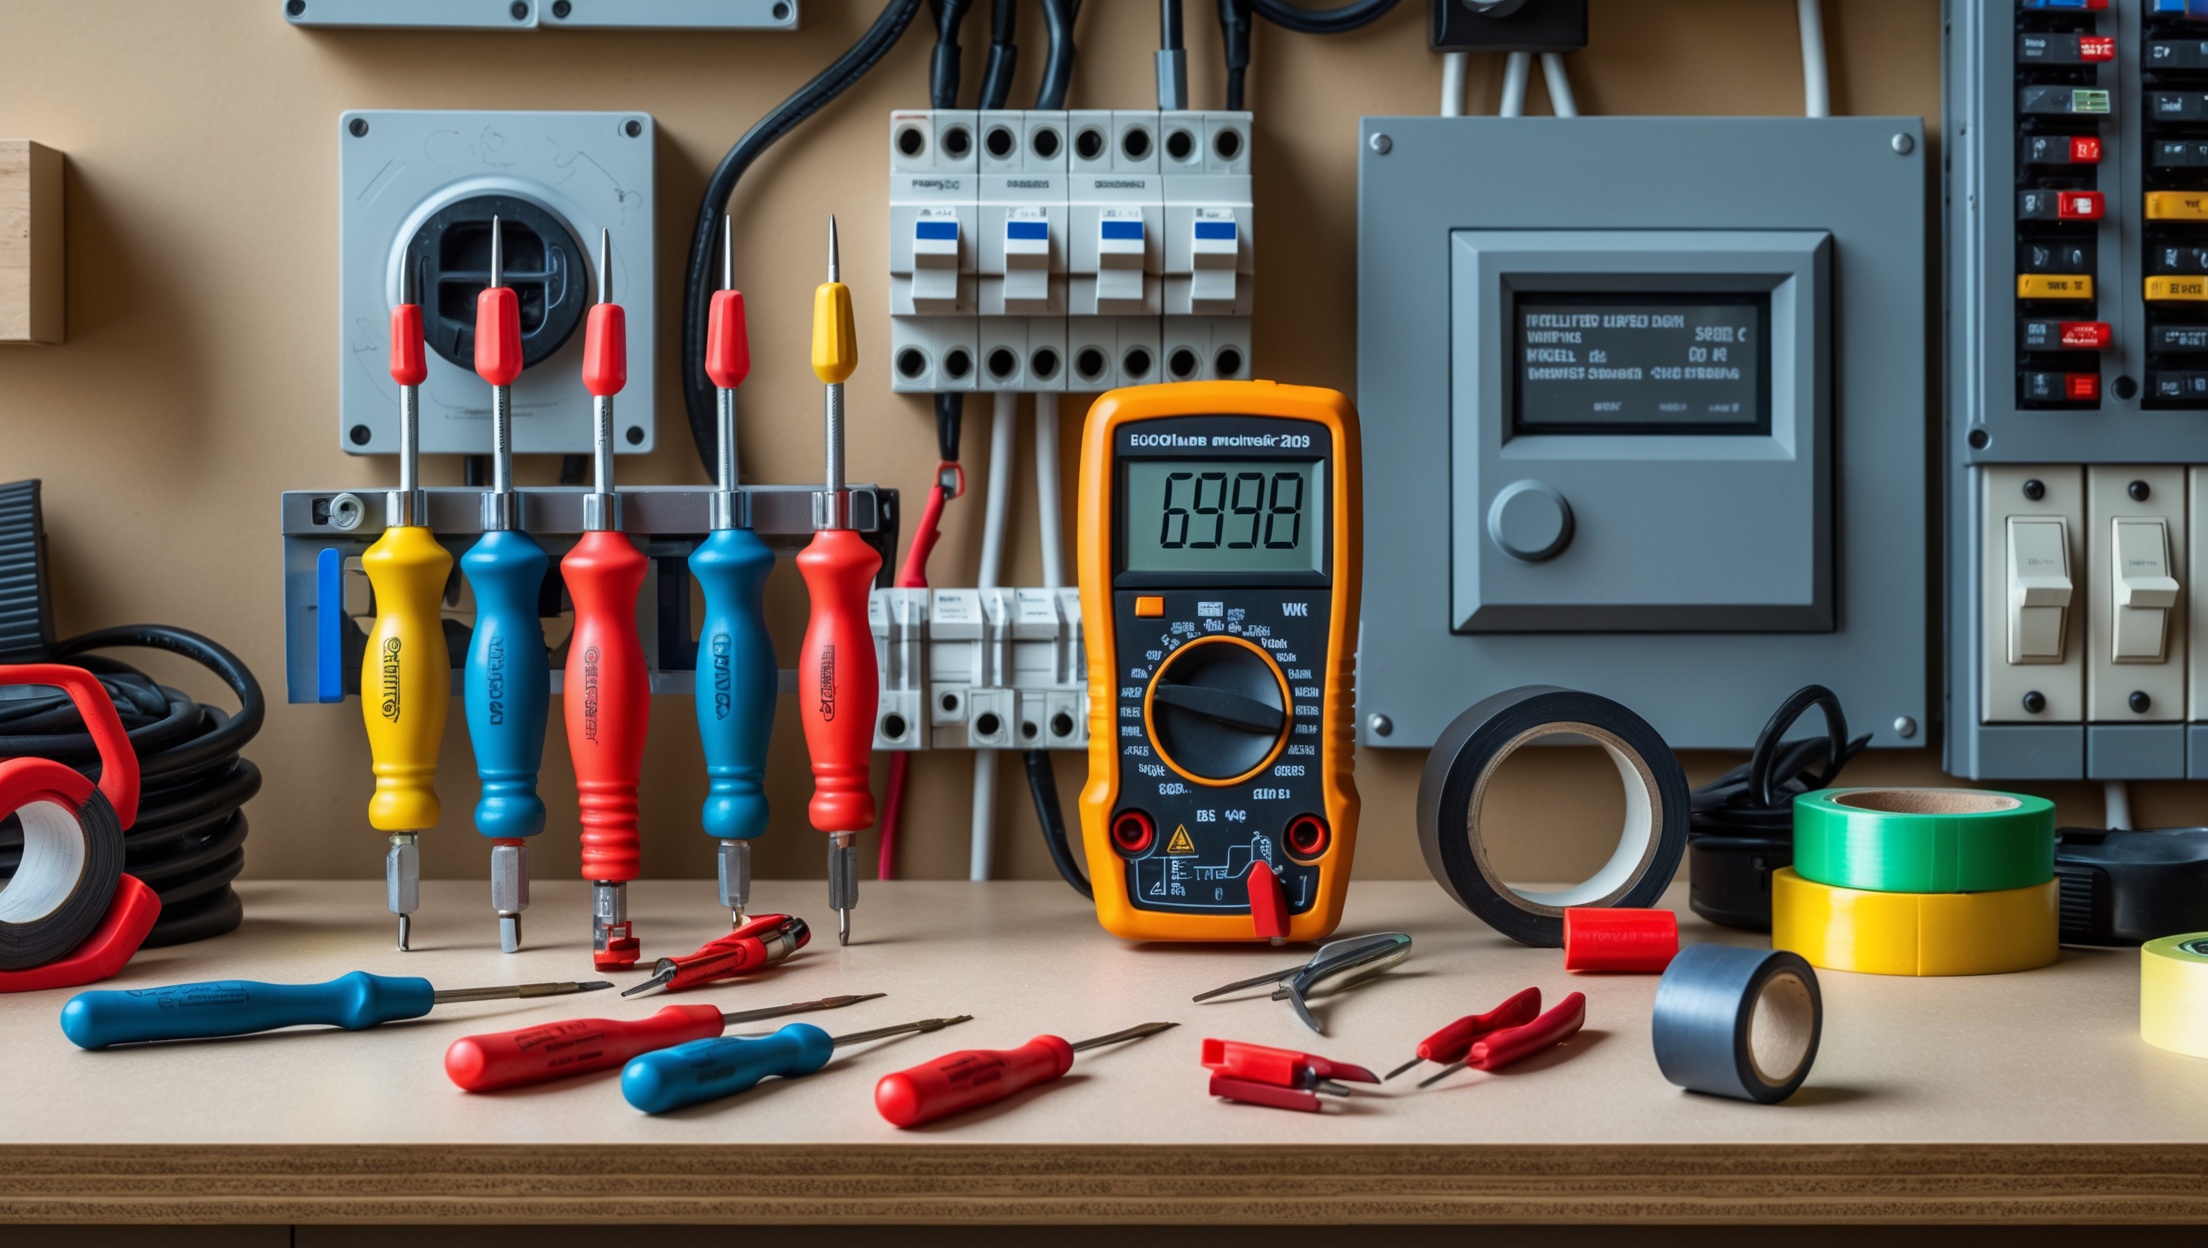
Introduction: Why the Right Tools Matter for DIY Electrical Projects
Embarking on a DIY electrical project is both empowering and rewarding, but it can also be daunting without the right preparation. Whether you’re replacing a light fixture, adding an outlet, or troubleshooting a circuit, your safety and the quality of your work heavily depend on the tools and equipment you choose. Unlike basic home repairs, electrical work demands precise instruments, reliable safety gear, and a disciplined approach to every task. Mistakes can lead to costly damage or, worse, personal injury. This comprehensive guide is designed to walk you through the essential tools, specialized equipment, and practical safety gear that every homeowner or hobbyist should have before tackling any electrical project. We’ll cover not just what each tool does, but why it matters, how to use it effectively, and what features to look for when selecting your kit. By the end, you’ll be fully equipped to approach electrical tasks with greater confidence, efficiency, and—most importantly—safety.
Understanding the Basics: Safety First
The Risks of Improper Tools in Electrical Work
Using the wrong tool for an electrical job isn’t just inconvenient—it’s dangerous. Even simple screwdriver slips can cause shorts or arc flashes. Insufficiently insulated tools or improper testing equipment can expose you to live circuits. Professional electricians invest in quality tools for a reason: the margin for error is slim, and the consequences of mistakes are severe. As a DIYer, prioritizing safety-rated equipment is non-negotiable.
Personal Protective Equipment (PPE) for Electrical Projects
- Insulated Gloves: Always wear rubber-insulated gloves rated for electrical work, especially when working near live wires or service panels.
- Safety Glasses: Protect your eyes from sparks, debris, and unexpected electrical arcs.
- Non-conductive Footwear: Wear shoes with rubber soles to minimize the risk of ground faults.
- Flame-Resistant Clothing: In higher-risk scenarios, consider flame-resistant shirts or jackets to guard against arc flashes.
Core Tools Every DIY Electrician Needs
1. Insulated Screwdrivers and Nut Drivers
Electrical work involves frequent loosening and tightening of terminals and covers. Invest in a set of screwdrivers and nut drivers rated up to 1,000 volts with insulated handles. Look for magnetic tips and ergonomic grips for easier handling in tight spaces. Flathead and Phillips sizes are mandatory, but nut drivers for common sizes (1/4″, 5/16″, 3/8″) are also invaluable for breaker panels and junction boxes.
2. Needle-Nose and Lineman’s Pliers
These pliers are indispensable for twisting wires, pulling cables, and making precise bends. Lineman’s pliers are best for heavy-duty cutting and crimping, while needle-nose pliers excel in tight spots, such as inside outlet boxes. Always select pliers with insulated grips and sharp, rust-resistant jaws.
3. Wire Strippers and Cutters
Correctly stripping insulation without nicking or damaging the wire is essential for secure electrical connections. Choose an adjustable wire stripper with clearly marked gauges for both solid and stranded wires. Integrated cutters and crimping features are a plus, reducing the number of tools you’ll need to carry.
4. Voltage Tester
Before touching any wire, you must confirm it’s de-energized. A non-contact voltage tester provides a quick, safe way to check for live wires without physical contact. Look for testers with audible and visual indicators for extra assurance. Test the device on a known live circuit before each use to verify functionality.
5. Multimeter
For more advanced diagnostics, a digital multimeter is indispensable. It measures voltage, current, resistance, and continuity. Choose a model with auto-ranging, a clear display, and robust input protection. Learn how to use the continuity function to verify effective wire connections and the voltage settings to safely confirm circuit status.
6. Circuit Finder or Toner
Tracing circuits, especially in older homes with unclear panel labels, is much easier with a circuit finder. These devices can identify which breaker controls a specific outlet or light fixture, reducing trial and error and saving time. Some models offer tone generators for tracing wire runs inside walls.
7. Fish Tape and Wire Pullers
Running new wires through walls, ceilings, or conduit is challenging without the right tools. Fish tape (typically 25–100 feet long) lets you snake wires through confined spaces. For longer pulls or multiple wires, a set of wire pullers or a lubricated pull string can make the job much simpler and cleaner.
Specialty Tools for Advanced Projects
1. GFCI Outlet Tester
GFCI outlets are required in kitchens, bathrooms, garages, and other wet areas. A dedicated GFCI tester checks not only for correct wiring but also for proper tripping function, ensuring your installation meets code and safety standards.
2. Circuit Breaker Lockout Devices
When working in a shared panel or with other people nearby, use a lockout/tagout device to physically prevent accidental re-energization of the circuit you’re servicing. These are essential for safe panel work and are required by safety regulations on professional job sites.
3. Conduit Benders
If your project involves running conduit (for example, in garages, basements, or exterior installations), a manual or hydraulic conduit bender is necessary for making smooth, code-compliant bends. Practice on scrap conduit to master bend angles before your actual installation.
4. Cable Stapler and Securement Tools
Neat, secure cable runs are not only aesthetically pleasing but also critical for long-term safety. A cable stapler or insulated cable clamps help you anchor wires without damaging insulation. Avoid over-tightening, which can compromise the wire’s protective sheath.
5. Clamp Meter
While a multimeter is often sufficient, a clamp meter allows you to measure current flowing through a conductor without disconnecting or exposing the wire. This is particularly useful for troubleshooting overloaded circuits or verifying load balances in panels.
Consumable Materials and Accessories
1. Electrical Tape and Heat Shrink Tubing
Insulating bare wires and repairing minor insulation damage requires quality electrical tape. Choose tape rated for at least 600 volts and designed for high-temperature use. For more permanent, professional connections, heat shrink tubing offers superior protection and durability.
2. Wire Nuts and Connectors
Secure, code-compliant splices are made with wire nuts or push-in connectors. Keep a variety of sizes on hand, and always select connectors suitable for the gauge and type of wire you’re joining. Follow manufacturer instructions for proper installation torque.
3. Junction Boxes and Covers
Never leave wire splices exposed. Always install all connections inside an approved junction box with a secure cover. Choose boxes sized to accommodate the number of wires and devices, and use metal or plastic based on code requirements and project needs.
Organizing Your Electrical Toolkit
Choosing a Storage Solution
An organized toolkit saves time and reduces stress during projects. Consider a tool bag with reinforced bottoms, labeled compartments, and weather resistance. For larger tool collections, a rolling toolbox or wall-mounted pegboard in your workshop provides easy access and visibility.
Maintenance and Inspection of Tools
- Regularly inspect insulated handles for cracks or wear.
- Clean debris and dust from tool surfaces after each use.
- Test voltage testers and multimeters on known live circuits before each project.
- Replace worn blades or jaws on pliers and cutters to maintain performance and safety.
Cost Breakdown and Budgeting Tips
Initial Investment vs. Long-Term Value
Quality electrical tools can seem expensive up front, but the investment pays off in durability, performance, and—most importantly—safety. A basic toolkit for home electrical projects (insulated screwdrivers, pliers, wire strippers, voltage tester, and multimeter) typically costs $100–$200. Specialty tools and advanced testers can add $50–$300, depending on brand and features.
Where to Invest and Where to Save
- Invest in: Insulated hand tools, multimeter, non-contact voltage tester, PPE.
- Save on: Consumables (buy in bulk), basic wire nuts/connectors, entry-level fish tape for occasional use.
- Avoid: Bargain-bin tools with questionable insulation or unverified safety ratings.
Buying Tips and Recommendations
Purchase tools from reputable hardware stores or trusted online retailers. Look for ANSI or IEC safety certifications. Read reviews from electricians and DIYers to find brands known for reliability (Klein, Fluke, Southwire, Ideal, etc.). Buying tool kits can offer savings over individual purchases, but always check that included items meet safety standards.
Step-by-Step: Preparing for a Safe Electrical Project
1. Plan Your Project
- Define the scope and required materials.
- Identify circuits and panel locations in your home.
- Familiarize yourself with local codes and permit requirements.
2. Gather Tools and Inspect Gear
- Lay out all tools on a clean, dry surface.
- Test all safety equipment (voltage tester, gloves, glasses) before beginning.
- Double-check that you have the correct sizes and types for your project (wire gauge, breaker type, etc.).
3. Power Down and Verify
- Shut off the circuit at the breaker panel.
- Lock out the breaker if others are present.
- Use your voltage tester and multimeter to confirm wires are de-energized before touching.
4. Work Methodically
- Keep your workspace organized and free of clutter.
- Use only insulated tools inside junction boxes or panels.
- Label wires and take photos for reference before disconnecting anything.
5. Test and Inspect
- Once work is complete, use appropriate testers (voltage, GFCI, continuity) to verify safe operation.
- Secure all covers and boxes before restoring power.
- Monitor the circuit for abnormal heat, buzzing, or interruptions.
Common Mistakes When Selecting Electrical Tools
- Choosing non-insulated or poorly insulated hand tools.
- Using generic household screwdrivers for electrical terminals.
- Neglecting to test voltage testers before each use.
- Over-tightening wire nuts or damaging insulation with improper tools.
- Relying on visual inspection instead of proper electrical testers.
Upgrading and Maintaining Your Toolkit
When to Replace or Upgrade Tools
Replace any tool with cracked insulation, loose handles, or rusted jaws. Upgrade your multimeter or testers as you take on more complex projects or as newer models offer enhanced safety features. Keep abreast of code changes that might require new types of testers or PPE.
Building Skills Alongside Your Toolkit
Owning the right tools is only half the equation. Take time to learn how to use each tool with confidence—practice on spare wire, watch tutorials from reputable sources, and consider local workshops or classes for hands-on experience. Always stay updated on best safety practices and technological advances in electrical equipment.
Conclusion: Equipping Yourself for Success and Safety
Home electrical projects can be deeply satisfying, adding value, function, and safety to your living space. But the difference between a successful DIY job and a risky, problematic one often comes down to your preparation—especially your choice of tools and equipment. Quality insulated hand tools, reliable testing devices, and proper PPE are not optional; they are the foundation of safe electrical work. Organize your toolkit thoughtfully, inspect and maintain your gear, and never cut corners on safety to save a few dollars or minutes. Remember, professional electricians don’t rely on luck—they rely on proven tools and rigorous habits. As you expand your skills and tackle more ambitious projects, your investment in the right equipment will continue to pay dividends in safety, efficiency, and peace of mind. Approach each project with respect for the risks involved and a commitment to best practices. With this comprehensive toolkit and the knowledge you’ve gained, you’re ready to take on home electrical projects responsibly and confidently—one safe connection at a time.
You mention using insulated gloves rated for electrical work. Can you explain how to pick the right rating and what to look for on the labeling? I sometimes see gloves marketed for electricians, but I’m not sure how to confirm if they’re actually suitable for working near live wires in my home.
When choosing insulated gloves for electrical work, check for a voltage rating marked on the glove or packaging—this tells you the maximum voltage the gloves are tested for. Look for ASTM D120 or IEC 60903 certification, which means the gloves meet international safety standards. For most home DIY tasks, a Class 0 glove (rated up to 1,000 volts AC) is usually sufficient. Always inspect the gloves for any visible damage before use.
I noticed you talked about how even small mistakes can be dangerous if you use the wrong tools. For someone just starting out, how do I know if the basic multimeter or insulated screwdriver sets sold at big box stores are reliable enough, or should I invest in more expensive brands?
Basic multimeters and insulated screwdrivers from reputable big box stores can be reliable for most beginner DIY electrical tasks, as long as they have safety certifications like UL or CE markings. Always check for these certifications on the packaging. For occasional home use, you don’t need the most expensive brands, but avoid very cheap, unbranded tools. As you gain more experience or tackle complex projects, you might consider investing in higher-end tools.
The article talks a lot about safety, which I appreciate. If I am tackling a small project, like changing a light fixture, do I still need all the specialized PPE, or are there situations where just basic protection like glasses and gloves are enough?
For a small project like changing a light fixture, basic protection such as safety glasses and insulated gloves is generally sufficient. Just make sure the power is switched off at the breaker before you start. More specialized PPE is usually necessary only for larger or riskier tasks. Always prioritize your comfort and safety level.
After I’ve chosen the right tools and PPE, are there any particular safety checks or routines you’d suggest before actually beginning an electrical DIY task, especially for someone who doesn’t do this every day?
Before starting any electrical DIY project, always turn off the power at the circuit breaker and double-check the circuit with a voltage tester. Inspect your tools and PPE to ensure they’re in good condition, and make sure your workspace is dry and well-lit. Have a clear plan for the task and know where your nearest exit and phone are in case of emergency. It’s also wise to keep one hand behind your back when working, to minimize risk.
When selecting non-conductive footwear or rubber-insulated gloves for home electrical work, are there affordable options that still offer reliable protection, or is it always better to invest in the most expensive brands?
You don’t always need to buy the most expensive brands to stay safe. Many reputable, affordable options provide reliable protection, as long as they meet recognized safety standards such as ASTM or IEC ratings. When choosing gloves or footwear, check for certifications and product reviews instead of focusing solely on price. Prioritize proper fit and visible quality to ensure effective insulation against electrical hazards.
Regarding insulated gloves, how can I tell if the ones I buy are properly rated for residential electrical work in the US? Is there a particular certification or labeling I should look for to make sure they’ll actually keep me safe?
When choosing insulated gloves for residential electrical work in the US, look for ones labeled as compliant with ASTM D120 standards. They should also indicate their voltage rating, and most safe options will be marked as ‘Class 0’ or higher for household tasks. Always check for a date of manufacture and ensure there is no visible damage before use.
Could you give some advice on what minimum set of tools a beginner might need if they’re only planning on simple jobs like changing out outlets or light fixtures? I’d like to keep my first toolkit affordable but safe.
For basic jobs like changing outlets or light fixtures, you’ll want a non-contact voltage tester to ensure power is off, a set of insulated screwdrivers, wire strippers, needle-nose pliers, and a sturdy tape measure. Electrical tape is also helpful. These essentials keep things safe without breaking the bank, and you can always add more tools as you take on bigger projects.
When selecting insulated tools for electrical tasks, how can I tell the difference between professional-grade equipment and lower-cost alternatives that may not be as safe? Are there any trusted brands or markings to look for?
When choosing insulated tools for electrical work, look for tools marked with ratings like “1000V” or symbols such as a double triangle. These indicate the tool has been tested for safe use on live circuits. Trusted brands include Klein Tools, Knipex, Wiha, and VDE-certified tools. Cheaper alternatives may skip these markings or certifications, so check for official labeling and a solid, reliable grip on the insulation.
I noticed the article emphasizes using high-quality, safety-rated tools over basic ones. For someone on a budget just starting out, which few essential tools would you consider absolutely non-negotiable for beginner DIY electrical tasks?
For beginner DIY electrical work, the most essential tools that shouldn’t be compromised on are a voltage tester or non-contact voltage detector, insulated screwdrivers, and quality wire strippers. These ensure basic safety and functionality. Even on a budget, investing in these with proper safety ratings is important to avoid electrical hazards and ensure your work is reliable.
I’m new to DIY electrical projects and noticed you mentioned insulated gloves and safety glasses as essential PPE. Are there specific ratings or standards I should look for when buying these, or are any rubber gloves and safety glasses from the hardware store good enough for basic projects?
For electrical work, not all rubber gloves or safety glasses are suitable. Look for electrical insulating gloves that meet ASTM D120 or IEC 60903 standards, which are rated for electrical protection. For safety glasses, choose ones marked ANSI Z87.1, as this indicates they meet impact protection standards. These ratings help ensure you’re properly protected during your DIY projects.
You mentioned the importance of non-conductive footwear for electrical safety. If I’m working in a finished basement or on damp floors, are rubber-soled sneakers generally sufficient, or do I need to invest in actual work boots designed for electricians?
Rubber-soled sneakers offer some protection, but they aren’t specifically designed to guard against electrical hazards, especially in damp areas like basements. For the highest level of safety, it’s best to use work boots that are rated as non-conductive and meet electrical safety standards. They provide extra insulation and reduce the risk of electric shock in wet environments.