

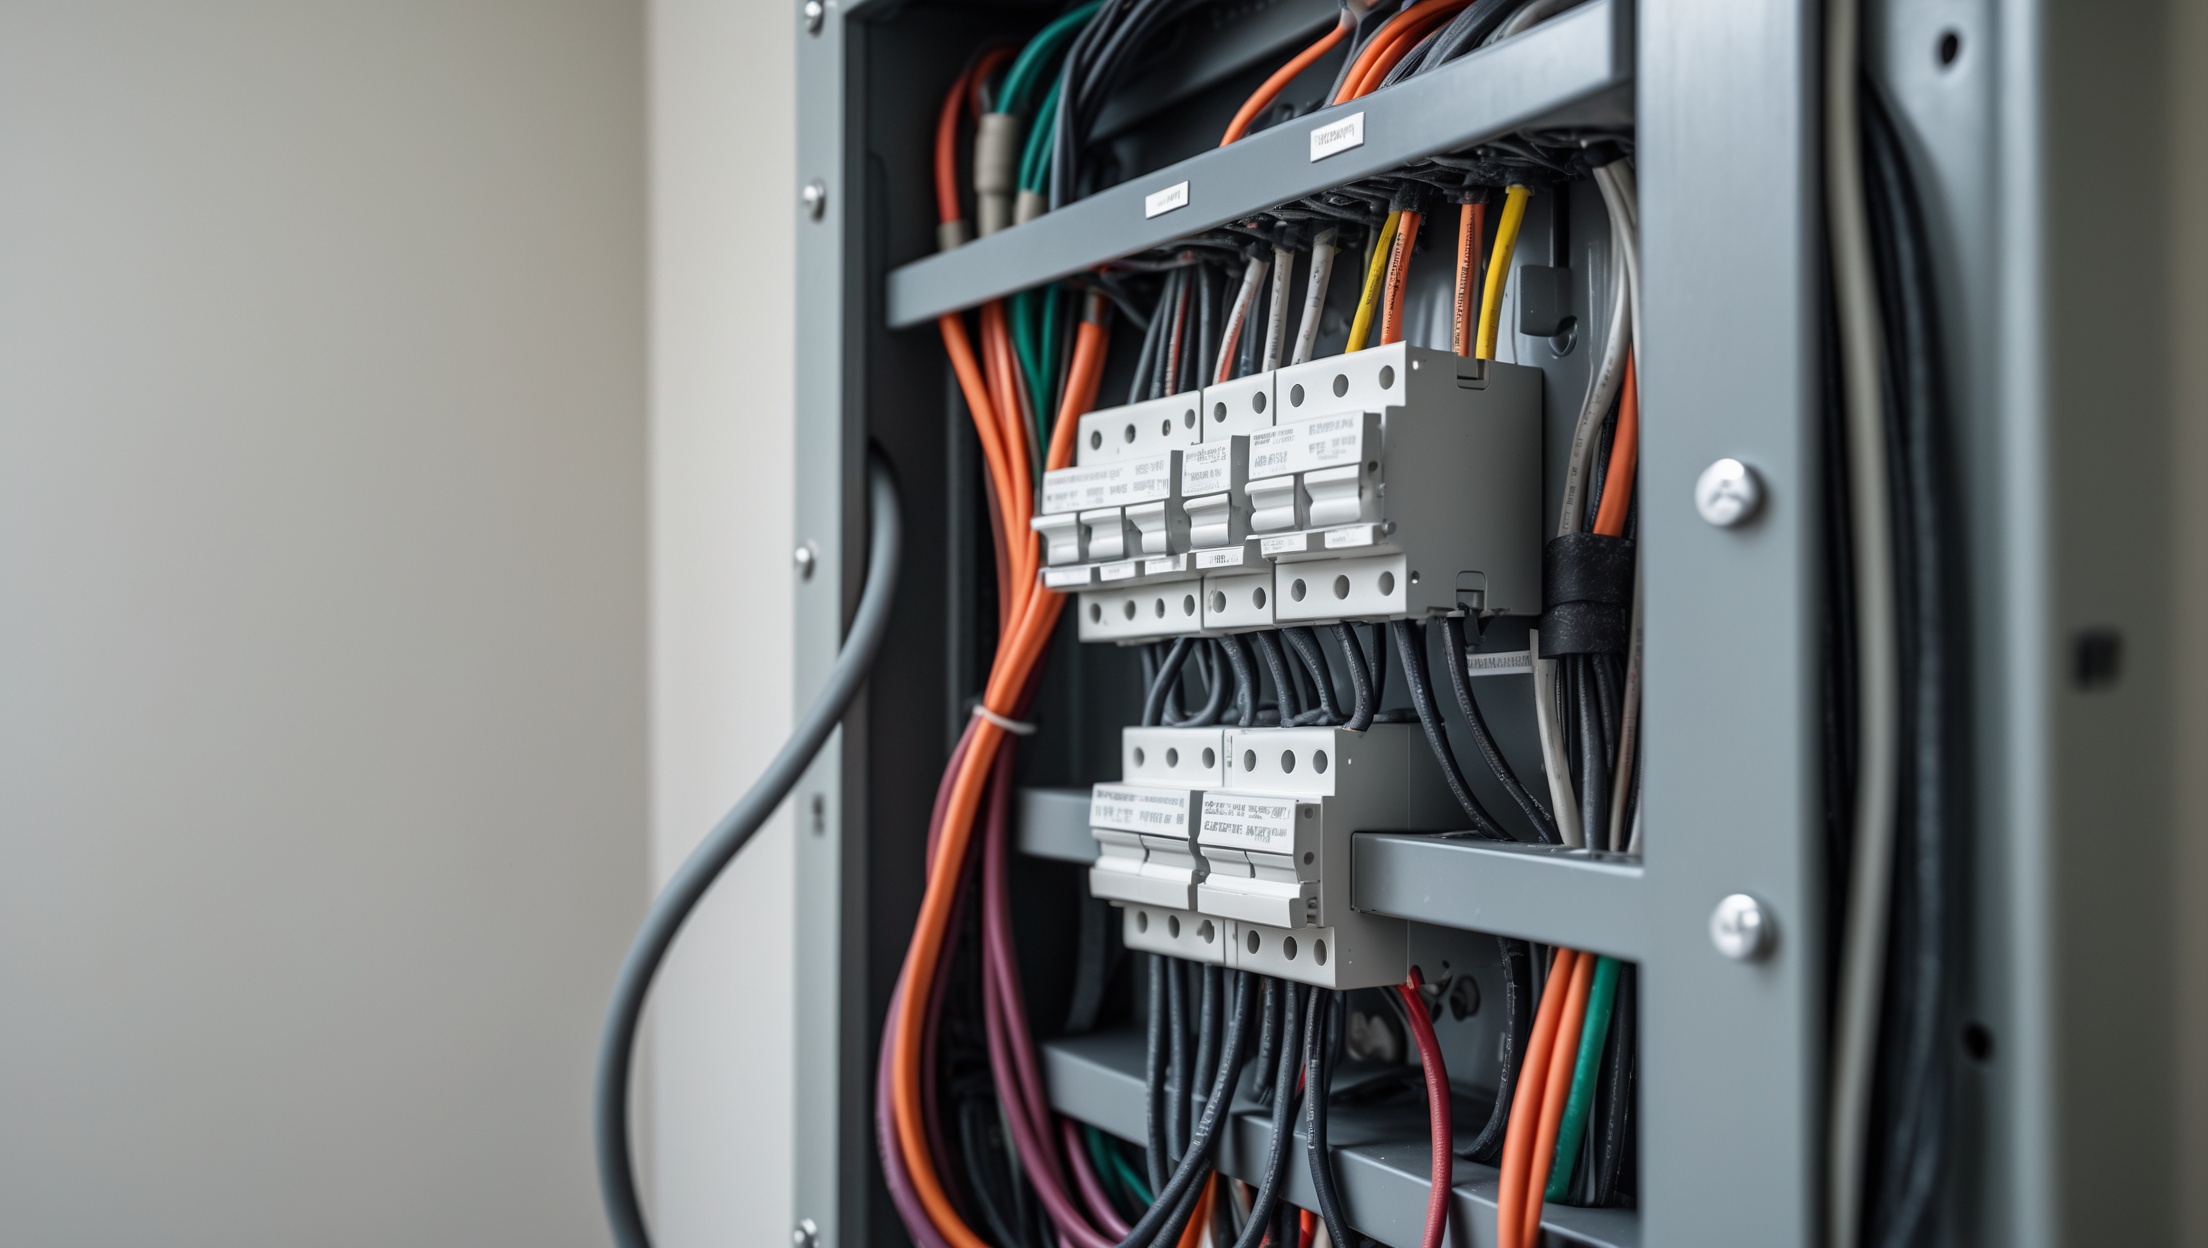
Introduction: Why Electrical Wiring Mistakes Matter
DIY electrical projects can be empowering and cost-effective, but they come with real risks. Wiring errors are among the most common—and potentially dangerous—mistakes that beginners make when tackling home improvement projects. Even seemingly minor errors can lead to serious consequences, including electrical fires, damage to appliances, failed inspections, expensive repairs, and even personal injury. Understanding the specific wiring mistakes that beginners most often make, and learning how to proactively avoid them, is crucial for anyone considering electrical work, whether you’re installing a new outlet, upgrading a light fixture, or rewiring a room. In this comprehensive guide, we’ll break down the most frequent beginner wiring errors, how to recognize them, the real-world costs of getting it wrong, and step-by-step strategies for doing it right the first time. By the end, you’ll be equipped with actionable knowledge to keep your home safe, efficient, and up to code.
1. Overlooking the Basics: Planning and Preparation Errors
1.1. Skipping the Planning Stage
One of the biggest mistakes beginners make is diving straight into a project without fully understanding the wiring layout or load requirements. This leads to haphazard wiring, overloaded circuits, and non-compliant installations.
- How to prevent it: Start by mapping your existing circuits and outlets. Use a circuit tracer or voltage tester to identify which breakers control which outlets and fixtures. Draw a simple diagram before you start any work.
- Research local electrical codes—many municipalities offer online resources or printable checklists.
- List all materials and tools you’ll need before starting; don’t improvise with unsuitable wires or connectors.
1.2. Ignoring Permit and Inspection Requirements
Many beginners don’t realize that even small wiring projects often require permits and inspections. Skipping this step can result in failed home sales, insurance claim denials, and required tear-outs.
- How to prevent it: Check with your local building department before starting. Permits not only ensure code compliance but also provide peace of mind that your work has been reviewed by a professional inspector.
2. Using Incorrect Wire Types and Sizes
2.1. Choosing the Wrong Wire Gauge
Wire gauge isn’t a matter of convenience—it’s a matter of safety and code compliance. Using wire that’s too small for the circuit can lead to overheating and fire risk, while oversized wire is difficult to work with and may not fit connectors or devices.
- Common error: Using 14-gauge wire where 12-gauge is required for a 20-amp circuit.
- How to prevent it: Always match wire gauge to the breaker amperage. For most household circuits: 15 amps = 14 AWG, 20 amps = 12 AWG, 30 amps = 10 AWG.
- Consult the National Electrical Code (NEC) tables or reputable guides to confirm requirements for your specific project.
2.2. Mixing Wire Types
Mixing copper and aluminum wire without proper connectors, or using indoor-rated wire outdoors, are common errors that can cause corrosion, connection failure, or even fire.
- How to prevent it: Use the same wire material throughout a run. If you must join copper to aluminum, use special connectors and antioxidant compound.
- Use only outdoor-rated (UF, THWN, etc.) cable for exterior runs or wet locations.
3. Poor Connections: The Root of Most Electrical Failures
3.1. Loose or Over-Tightened Connections
Loose connections generate heat and can arc, leading to electrical fires. Over-tightened screws or wire nuts, meanwhile, can damage wires and cause the same hazards.
- Common error: Spinning wire nuts too loosely or too tightly, or failing to twist wires together before securing the nut.
- How to prevent it: Strip wires to the right length, twist them together with pliers, and secure firmly with the correct size wire nut. Tug gently to check for security.
3.2. Incorrect Use of Push-In (Backstab) Connections
Push-in connections on outlets and switches are faster, but less secure. Over time, wires can loosen and arc, causing failure or fire.
- How to prevent it: Always use screw terminals for outlets and switches rather than push-in backstabs. It takes a few extra minutes, but offers a much more reliable connection.
3.3. Failing to Use Junction Boxes
Splicing wires outside of a junction box is a serious code violation and a real fire hazard. Exposed splices can be damaged or shorted by contact with insulation, dust, or pests.
- How to prevent it: Always make splices inside an approved electrical box. Use a box large enough for the number of wires, and always secure the box cover.
4. Neglecting Grounding and Bonding
4.1. Forgetting to Ground Outlets and Fixtures
Ungrounded outlets are shock hazards and can damage sensitive electronics. Many beginners overlook grounding when replacing old outlets or adding new ones.
- How to prevent it: Always connect the green or bare copper ground wire to the outlet’s ground screw, and to the metal box if present. Use a circuit tester to verify proper grounding before finishing the job.
4.2. Misunderstanding Bonding Requirements
Bonding ensures all metal parts of the electrical system are at the same voltage to prevent shocks. Failing to bond metal boxes or conduit leaves a hidden hazard.
- How to prevent it: Bond metal boxes by connecting the ground wire to the box’s grounding screw or clip. Use bonding jumpers as required when using metal conduit.
5. Overfilling Boxes and Crowding Wires
5.1. Exceeding Box Fill Limits
Stuffing too many wires or devices into an electrical box makes it difficult to secure connections and increases the risk of overheating and short circuits.
- How to prevent it: Calculate box fill using code tables: each wire, device, and connector takes up a certain volume. Never force wires or devices into a box that’s too small—upgrade to a larger box if needed.
5.2. Poor Cable Management
Crowded, tangled wires are hard to troubleshoot later and can be pinched or damaged by sharp edges.
- How to prevent it: Arrange wires neatly within boxes and panels. Use cable clamps or tie wraps to keep cables organized and away from sharp edges.
6. Failing to Protect Wires from Damage
6.1. Exposed or Unprotected Cables
Running NM (Romex) or other non-metallic sheathed cable where it’s exposed to physical damage (like along a garage wall or beneath a deck) is a common and dangerous mistake.
- How to prevent it: Use conduit or armored cable (MC) where wires could be bumped, pinched, or chewed by rodents. Secure cables every 4.5 feet and within 12 inches of boxes per code.
6.2. Drilling Holes Incorrectly
Drilling too close to the edge of studs or joists can weaken framing and leave wires vulnerable to nails or screws. Not using protective plates is another frequent error.
- How to prevent it: Drill holes at least 1.25 inches from the edge of framing members. Install steel nail plates over holes where wires pass through if closer than that, to prevent accidental puncture by fasteners.
7. Miswiring Switches and Outlets
7.1. Reversing Hot and Neutral Wires
A surprisingly common mistake is connecting the hot (black or red) and neutral (white) wires backwards at outlets or switches. This creates a shock hazard and can damage appliances.
- How to prevent it: Always double-check wire colors and terminal markings: brass screws are for hot wires, silver for neutral. Use a plug-in tester after installation to verify correct wiring.
7.2. Miswiring 3-Way and 4-Way Switches
3-way and 4-way switches are often miswired by beginners, leading to switches that don’t work as expected—or at all.
- How to prevent it: Carefully follow wiring diagrams for 3-way and 4-way circuits. Mark traveler wires with tape to avoid confusion. Test the switches before buttoning up boxes.
8. Skipping Testing and Final Checks
8.1. Not Testing Connections Properly
Finishing a project without testing every connection is a recipe for hidden problems. Even experienced electricians occasionally make wiring errors.
- How to prevent it: Always use a voltage tester and a plug-in outlet tester to check every outlet, switch, and fixture before closing boxes and restoring power. Test GFCI and AFCI protection as required.
8.2. Failing to Label Circuits
Unlabeled or mislabeled circuits make future troubleshooting a nightmare and can lead to accidental shocks or outages.
- How to prevent it: Label every new or modified circuit at the panel with a clear, durable label. Update the panel directory as you go.
9. Real-World Cost Breakdown: The Price of DIY Wiring Errors
Mistakes in electrical wiring can be expensive to fix. Here’s a breakdown of typical costs caused by common errors:
- Failed inspection and required rework: $200–$1,000+, depending on severity and local rates
- Fire or property damage from improper wiring: $10,000–$100,000+ (plus possible insurance claim denial)
- Damaged appliances from miswiring: $50–$1,500 per device
- Professional troubleshooting after DIY failure: $125–$500 per visit
Investing time in doing it right from the start pays off handsomely compared to the potential costs of getting it wrong.
10. Step-by-Step: How to Wire a New Outlet Safely and Correctly
Let’s walk through a common beginner project—installing a new outlet—while applying the lessons above.
- Shut off power: Turn off the correct breaker and verify with a voltage tester.
- Plan the circuit: Confirm the circuit can handle an additional outlet; check load and wire gauge.
- Install a box: Use the right size and type for your location (plastic or metal, old work or new work).
- Run cable: Use the correct gauge, route neatly, and protect as needed.
- Strip wires: Follow device instructions for stripping length; avoid nicking the wire.
- Make connections: Twist wires together, use the correct size wire nuts, and connect ground wire to box and device.
- Mount the outlet: Secure firmly, avoid over-tightening.
- Test: Before closing, use a tester to confirm wiring and ground.
- Label: Update your panel directory to reflect the new outlet.
- Restore power and confirm operation: Test with an appropriate appliance or device.
Conclusion: Building Confidence Through Knowledge and Caution
Tackling your own electrical wiring projects can be a safe, rewarding, and cost-effective way to improve your home—if you take the time to learn from the most common beginner mistakes. From planning and permitting, to choosing the right wire, making secure connections, and rigorously testing your work, each step is essential to a successful project. The costs of skipping steps or cutting corners can range from inconvenient to catastrophic, but with careful preparation, attention to detail, and a willingness to seek professional help when needed, you can avoid the pitfalls that trip up so many first-time DIYers.
Remember, safety always comes first. When in doubt, consult the National Electrical Code, your local building department, or a licensed electrician. Honest self-assessment is crucial: if you’re ever unsure about a particular aspect of wiring, it’s always safer—and ultimately cheaper—to ask for professional guidance rather than risk a dangerous or costly mistake.
By learning from common errors and applying best practices, you’ll build confidence, skills, and a safer, more efficient home electrical system. Every successful project is a step toward greater self-reliance and peace of mind. Stay curious, stay cautious, and happy wiring!
You mention needing permits even for small wiring projects. For a small business doing minor upgrades like changing out light fixtures, how do I find out exactly what requires a permit in my city before I start?
To find out what electrical work requires a permit in your city, contact your local building department or inspection office before starting. They can tell you exactly which projects need permits, as requirements can vary widely. Even small upgrades, like changing light fixtures, sometimes need approval depending on your location. It’s best to explain the work you plan to do and confirm the rules to avoid any issues later.
When figuring out which permits are required for small projects like installing a new outlet, where should homeowners start, and are there common exemptions that beginners might not know about?
Homeowners should start by checking with their local city or county building department, as permit requirements can vary widely by location. For small projects like installing a new outlet, some areas may exempt minor repairs or like-for-like replacements from permits, but new installations often require approval. Beginners should not assume exemptions apply—always verify with local authorities to avoid issues later on.
If I’m trying to map my existing circuits like the article suggests, what’s the safest way to trace which outlets go to which breakers if I’ve never done it before? Are there specific tools or precautions you recommend for beginners?
To map your circuits safely, start by turning off one breaker at a time and seeing which outlets or lights lose power—label them as you go. A non-contact voltage tester is a great tool for beginners because it lets you check if an outlet is live without touching any wires. Always work with dry hands, stand on a dry surface, and never open the breaker panel unless you’re comfortable and it’s necessary. Take your time and double-check each step.
You mention using a circuit tracer or voltage tester to identify breakers, but for someone just getting started, is there a particular tool or brand you recommend for safety and accuracy? Also, are there common mistakes people make when tracing circuits for the first time?
For beginners, a non-contact voltage tester from brands like Klein Tools or Fluke is a reliable choice—they’re easy to use, reasonably priced, and help safely detect live wires. When tracing circuits, common mistakes include not turning off the main power before testing and failing to label breakers properly. Always double-check power is off before working, and label circuits as you go to avoid confusion later.
When you mention researching local codes and listing all materials up front, do you have tips for keeping the project budget in check, especially with prices for wire and tools varying so much at different stores?
To keep your project budget in check, try making a detailed shopping list based on your wiring plan, then compare prices online and at local stores before buying. Consider buying materials in bulk if you’ll use them for future projects. Also, check for sales or discounts, and see if you can borrow or rent tools instead of purchasing everything new. This approach helps you avoid last-minute purchases that can drive up costs.
When you mention mapping out existing circuits with a circuit tracer or voltage tester, do you have any tips for someone dealing with an older home where labeling in the breaker box is missing or unclear?
In older homes with unclear breaker box labels, start by turning off all breakers and then restore them one at a time, noting which outlets or fixtures become active. Use a circuit tracer or a plug-in voltage tester to help identify which outlets belong to each breaker. Label each circuit as you confirm it, and consider making a simple diagram for future reference. Always ensure safety by working with power off and using insulated tools.
The article talks about mapping out circuits before starting electrical work. Is there an affordable tool you recommend for tracing circuits, or is there a safe DIY method for beginners who are on a tight budget?
A basic circuit tester or a non-contact voltage tester are affordable tools that can help beginners trace circuits and identify live wires safely. For a more DIY approach, you can carefully turn breakers on and off one at a time while someone checks which outlets or lights lose power, then label them. Always be sure to shut off power before working on any wiring for safety.
Regarding permit requirements, how can I determine when my DIY wiring project officially crosses the line into needing a permit or inspection? Are there typical project types, like swapping light fixtures, that are generally exempt, or is it always dependent on local code?
Permit requirements usually depend on your local building codes. Simple projects like swapping out light fixtures or replacing outlets are often exempt, but tasks such as adding new circuits, outlets, or rewiring sections of your home typically require a permit and inspection. It’s always safest to check with your city or county’s building department before you start, since rules can vary even between neighboring areas.
Is there a reliable way for beginners to map out their existing circuits if their breaker box isn’t labeled? The article mentions using a circuit tracer or voltage tester, but I’m not sure how to go about this step-by-step for a whole house.
Absolutely, mapping out your home’s circuits without labels is doable. Start by turning off one breaker at a time. Use a voltage tester or plug in a lamp to check which outlets and fixtures lose power—make notes or use stickers for each area. Repeat this process for each breaker. For a more precise approach, a circuit tracer can help by sending a signal through the wire you want to identify. Be methodical and label as you go to avoid confusion.