

Introduction: Why Winterizing Your Electrical System Matters
As winter approaches, most homeowners focus on insulating windows or servicing heating systems, but the electrical system often gets overlooked—sometimes with costly or dangerous consequences. Power demands spike in cold months due to heating, lighting, and holiday appliances. Meanwhile, heavy snow, ice, and freezing temperatures can strain electrical infrastructure both inside and outside your home. Electrical failures during winter can mean more than just inconvenience: outages or malfunctions can lead to frozen pipes, unsafe use of space heaters, or even fires. Proactive winterization ensures your home’s electrical system meets seasonal challenges head-on, keeping your family safe and comfortable while maximizing energy efficiency. In this guide, we’ll walk through a step-by-step process for preparing your electrical system for winter, from panel checks and outdoor equipment care to critical safety upgrades and energy-saving strategies. Whether you’re a DIY enthusiast or planning to hire a professional, these practical insights will help you avoid common pitfalls, reduce your energy bills, and enjoy a worry-free winter.
Step 1: Inspecting and Preparing Your Electrical Panel
Why Focus on the Electrical Panel?
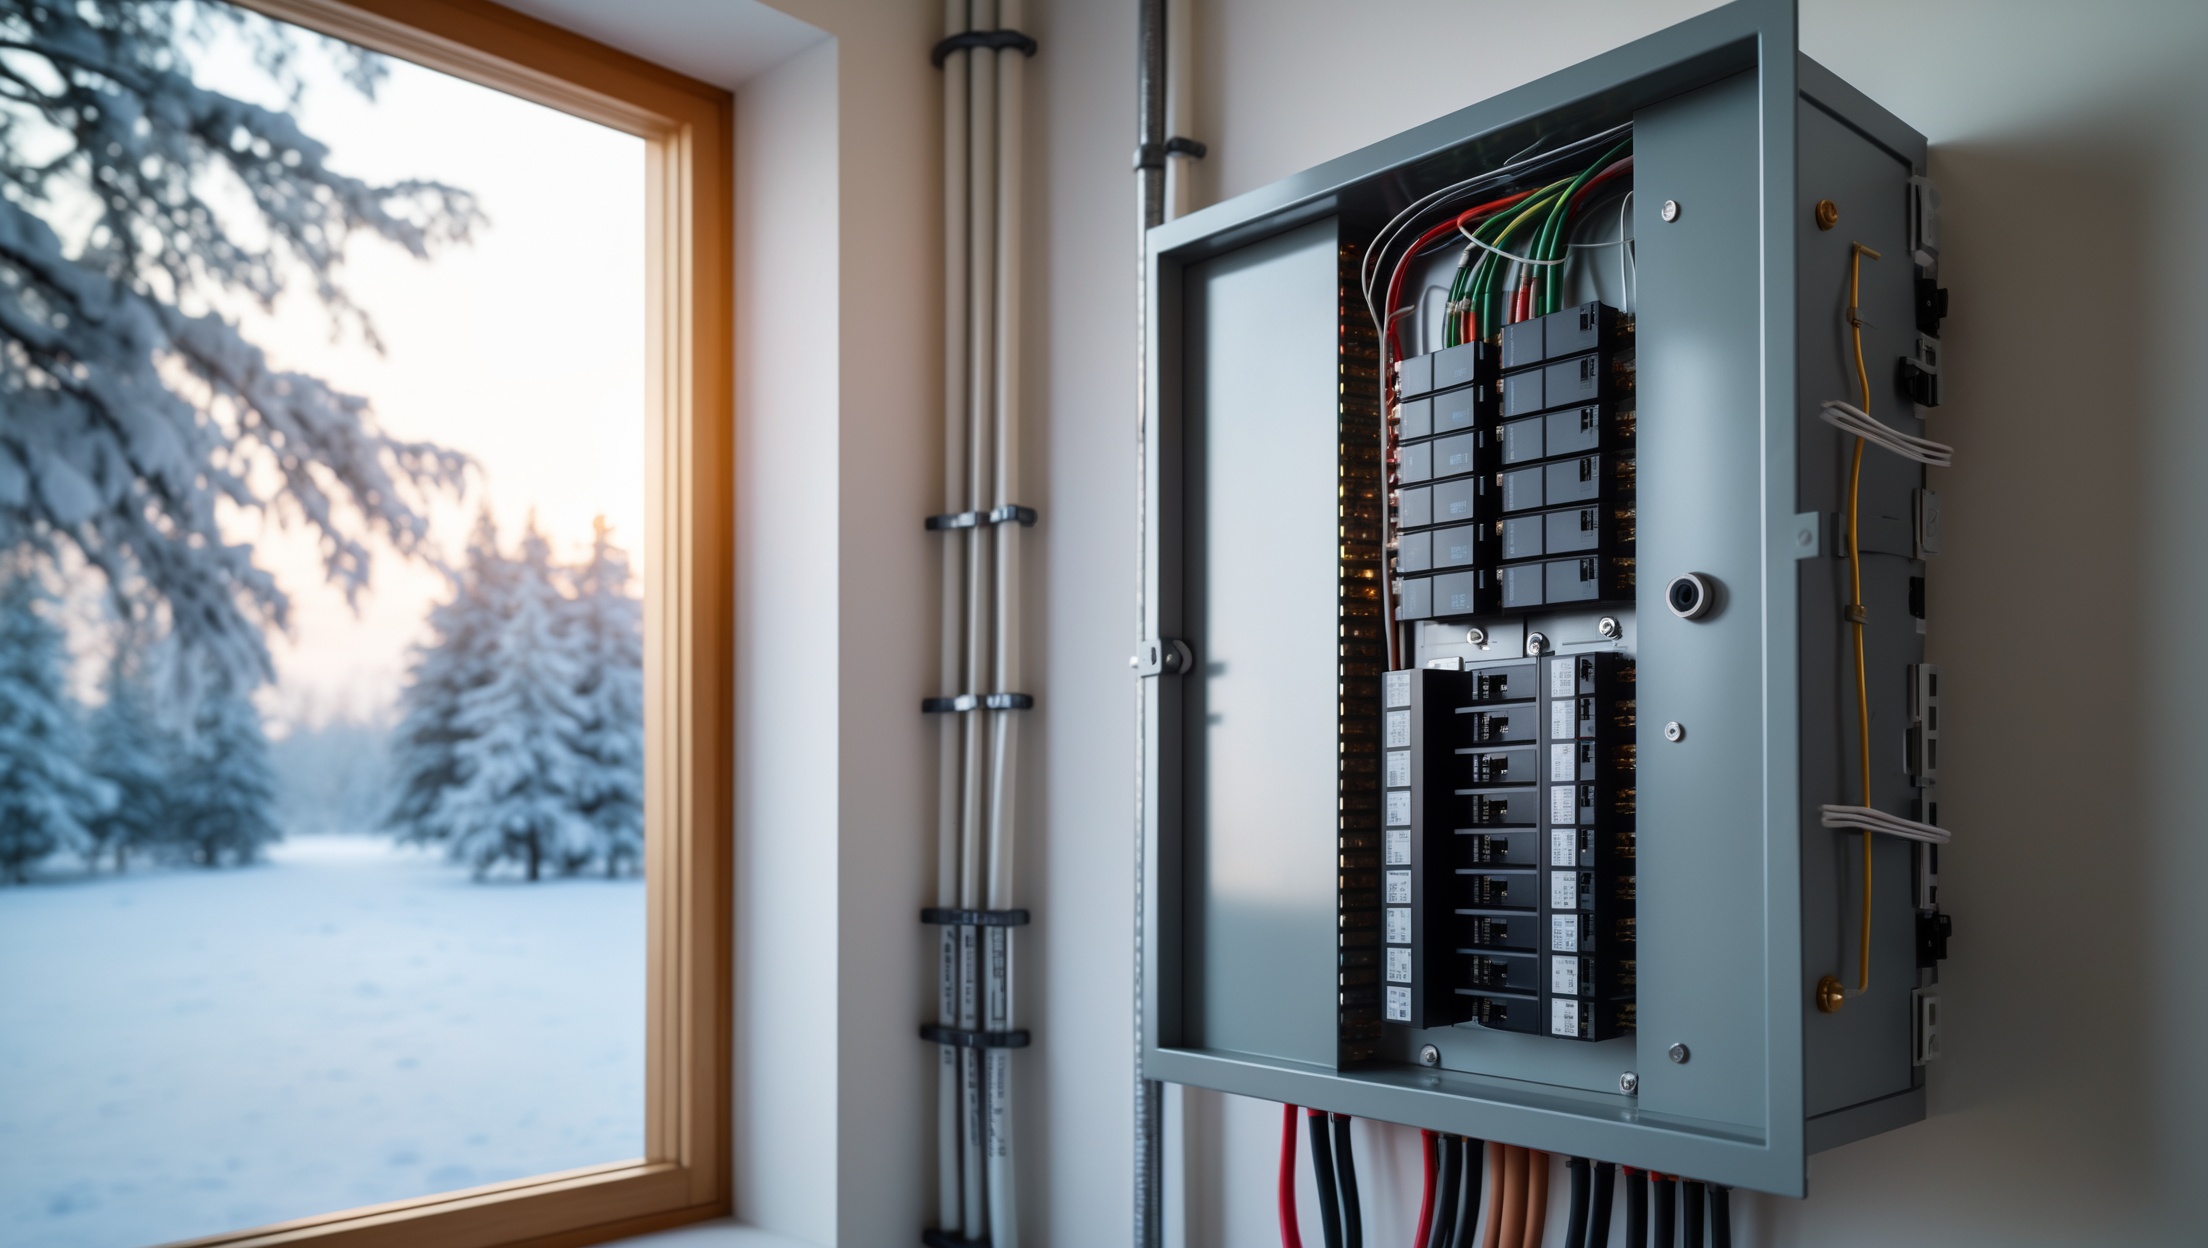
Your electrical panel is the command center for home power distribution. Winter increases load on circuits due to heating systems, electric blankets, and more frequent indoor activity. Ensuring the panel is up to the task is critical for safety and efficiency.
Inspection Checklist
- Visual Inspection: Open the panel door and use a flashlight. Look for rust, corrosion, burned spots, or evidence of water intrusion.
- Breaker Test: Test each breaker by switching it off and on. Faulty breakers may feel loose or fail to reset.
- Labeling: Confirm breakers are clearly labeled. Accurate labeling speeds up troubleshooting during emergencies.
- Panel Cover: Ensure the cover screws are tight and no gaps exist that could let in dust or moisture.
When to Call a Pro
If you notice buzzing sounds, warm spots, or frequent tripping, schedule a licensed electrician for a full evaluation. Winter is not the time to risk panel issues.
Step 2: GFCI and AFCI Protection Review
Testing Ground Fault Circuit Interrupters (GFCIs)
Bathrooms, kitchens, garages, basements, and outdoor outlets should be GFCI-protected. Press the “Test” button on each outlet—power should cut off. Press “Reset” to restore. Replace any GFCI outlets that fail the test.
Assessing Arc Fault Circuit Interrupters (AFCIs)
AFCIs are required in many areas for bedroom and living area circuits to prevent fire from wiring faults. Test AFCI breakers monthly. If you lack AFCI protection and live in an older home, consider upgrading—especially before increased winter usage.
Step 3: Outdoor Electrical Preparations
Securing Exterior Outlets and Fixtures
- Weatherproof Covers: All outdoor outlets should have “in-use” weatherproof covers, especially if used for holiday lights or snow blowers.
- Inspect Fixtures: Check exterior lights and outlets for cracked housings, exposed wiring, or loose fittings.
- Extension Cord Safety: Use only outdoor-rated, heavy-duty cords for holiday lighting or equipment. Remove cords promptly after use to prevent moisture damage.
Generator Readiness
If you have a standby or portable generator, inspect it now. Test-run the unit, check oil and fuel levels, and ensure transfer switches function properly. Store fuel safely, away from living areas and ignition sources.
Step 4: Heating System and Thermostat Wiring
Electric Heating Loads
Baseboard heaters, electric furnaces, and heat pumps draw significant power. Check connections at the units for discoloration, loose wires, or burning odor. Clean dust from vents and ensure clear airflow around heating appliances.
Thermostat Wiring Check
Remove thermostat covers and verify wire connections are tight and corrosion-free. Replace batteries in programmable or smart thermostats to avoid unexpected shutdowns in cold weather.
Step 5: Interior Lighting and Appliance Circuits
Lighting Upgrades for Winter
- Switch to LEDs: Replace older incandescent bulbs with LEDs. They’re more efficient, last longer, and reduce load on circuits.
- Check Lamp and Fixture Cords: Inspect for fraying or cracked insulation—replace as needed.
Kitchen and Laundry Circuits
Baking, cooking, and laundry loads spike in winter. Check outlets for discoloration or warmth during use—signs of overloading. Avoid plugging multiple high-wattage appliances into a single outlet or power strip.
Step 6: Surge Protection Strategies
Why Surge Protection Is Critical in Winter
Storms and icy weather can cause grid instability and power surges. Whole-house surge protectors installed at the main panel, supplemented by plug-in protectors for sensitive electronics, are your best defense. Inspect existing surge devices for status indicators. Replace any that show warning lights or have absorbed a major surge event.
Step 7: Moisture and Condensation Control
Identifying Problem Areas
Basements, crawl spaces, and garages are prone to moisture in winter. Check outlets and wiring runs for condensation, corrosion, or mildew. Install vapor barriers and maintain a dry environment to prevent shorts and corrosion.
Protecting Outlets and Wiring
- Install gasketed covers on outlets in damp locations.
- Use conduit to protect exposed wiring in unconditioned spaces.
- Consider a dehumidifier in high-risk areas.
Step 8: Safety Devices and Emergency Preparedness
Smoke and Carbon Monoxide Alarms
Test all alarms monthly. Replace batteries and units per manufacturer’s schedule. Winter increases risk of CO buildup from heating appliances—install alarms on every level, especially near bedrooms and utility rooms.
Emergency Lighting
Keep battery-powered lanterns and flashlights accessible. Consider installing hardwired emergency lights in stairwells and hallways for safe egress during outages.
Know Your Shutoffs
Every household member should know how to safely shut off power at the main breaker panel. Post clear instructions nearby. Practice shutting off the main breaker in daylight so you’re prepared in an emergency.
Step 9: Energy Efficiency Upgrades for Winter
Smart Thermostats and Timers
Install or program smart thermostats to reduce heating costs. Use timers for exterior lighting to avoid unnecessary usage. Pair with occupancy sensors in rooms that see less use.
Seal Electrical Penetrations
Check for drafts where electrical wiring enters exterior walls. Use caulk or expanding foam to seal gaps, improving both comfort and efficiency.
Consider Dedicated Circuits
Heavy-use devices like space heaters should have dedicated circuits to avoid overloads. Have an electrician add circuits as needed before peak winter demand.
Step 10: Professional Inspection and Preventive Maintenance
When to Schedule an Electrical Inspection
If your home is over 30 years old, you’ve recently added major appliances, or you’ve experienced unexplained breaker trips, schedule a professional inspection before the first deep freeze. Electricians have tools to check for hidden wiring issues, outdated components, and code compliance problems.
What to Expect
- Thermal imaging of panels and outlets for hot spots
- Voltage and amperage testing under load
- Inspection of attic, crawl space, and exterior wiring
- Recommendations for upgrades or repairs
Bonus: Winter Electrical Safety Tips
- Never use extension cords as permanent wiring.
- Keep space heaters away from flammable materials and never leave them unattended.
- Unplug holiday lights before going to bed or leaving home.
- Teach children about electrical safety and the importance of dry hands when touching switches or outlets.
Conclusion: Stay Safe, Warm, and Efficient All Winter
Winter brings unique electrical challenges, but with thorough preparation, you can enjoy the season with peace of mind and lower energy bills. By systematically inspecting your electrical panel, checking GFCI and AFCI protection, securing outdoor outlets, preparing heating circuits, and implementing surge protection, you reduce the risk of outages, fires, and costly repairs. Moisture control and energy efficiency upgrades further safeguard your home while keeping utility costs in check. Don’t forget the importance of regular safety device checks and emergency planning—these can be life-saving in the event of a winter storm or power interruption.
If you’re unsure about any part of the process or encounter warning signs like discolored outlets, frequent breaker trips, or strange odors, don’t hesitate to call a professional electrician. Investing time in winterizing your home’s electrical system pays dividends in comfort, safety, and reliability all season long. Make electrical winterization an annual habit, and you’ll be well-equipped to handle whatever the cold months bring.
You mentioned checking for rust or signs of water intrusion in the electrical panel during winter prep. If I do notice a little rust inside, is it something I can fix myself safely or would I need to call an electrician right away?
If you notice any rust inside your electrical panel, it’s best to call a licensed electrician rather than trying to fix it yourself. Rust can indicate moisture problems that might compromise safety, and working inside the panel can be hazardous without proper training. An electrician can assess the extent of the issue, address any immediate risks, and recommend steps to prevent further damage.
If my panel and breakers seem okay during the initial inspection, how often should I repeat these checks throughout the winter season to catch potential issues before they become emergencies?
It’s a good idea to inspect your panel and breakers at least once a month throughout the winter. If your home experiences severe weather, power outages, or unusual electrical behavior, do an additional check right away. Regular monthly inspections help you spot warning signs early and keep your electrical system safe all winter.
For someone who’s not super experienced with electrical systems, how often should these winterization steps for the panel be repeated during the winter months? Is once enough or do you recommend periodic checks throughout the season?
It’s best to do a thorough winterization of your electrical panel before the cold sets in, but for safety and efficiency, a quick monthly check during the winter is a good idea. This lets you catch any issues like moisture buildup or tripped breakers early. You don’t need to repeat all the detailed steps, just inspect for obvious changes or problems.
I noticed you mentioned testing each breaker by switching it off and on. If I find a breaker that feels loose or doesn’t reset, is it something I can fix myself, or should I always call a professional in that case?
If a breaker feels loose or refuses to reset, it’s best to call a licensed electrician rather than trying to fix it yourself. Breakers are safety devices, and issues like looseness or failure to reset can signal internal problems or electrical hazards. Handling them without proper training can be risky. For your safety, leave repairs and replacements to a professional.
The article says to test each breaker by turning it off and on, but is it safe to do that myself or should I always get a professional? What could go wrong if someone inexperienced tries it?
Turning each breaker off and on is usually safe for most homeowners as long as your hands are dry and you stand on a dry surface. However, if your panel is old, shows signs of damage, or you feel unsure, it’s wise to get a professional. The main risks for someone inexperienced are electrical shocks, damaging sensitive electronics, or causing a breaker to fail if it’s already worn out.
For someone on a tight budget, are there any basic safety upgrades mentioned in the guide that can be tackled without hiring an electrician, or are most of the winterization steps best left to a pro to avoid safety risks?
Some basic safety upgrades from the guide, like checking for exposed wires, replacing damaged outlet covers, and using draft stoppers around electrical outlets, can usually be handled without hiring an electrician. However, more involved tasks—such as inspecting your breaker panel or upgrading outdated wiring—are best left to professionals to avoid safety hazards. Focus on the simpler steps first to make a difference on a tight budget.
For someone on a tight budget, which steps in this winterizing process can be realistically handled DIY, and which ones absolutely need a licensed electrician? I want to ensure safety without unnecessary costs.
Many basic winterizing steps can be done yourself, such as checking for exposed wires, replacing weatherstripping on electrical outlets, sealing gaps around electrical boxes, and testing smoke or carbon monoxide detectors. However, if you need to upgrade your electrical panel, add dedicated circuits, or notice signs of faulty wiring like flickering lights or scorched outlets, it’s safest to hire a licensed electrician. For most routine inspection and minor fixes, a DIY approach works, but any major upgrades or repairs should be left to a professional.
You mention making sure the breakers are clearly labeled to help in emergencies. Do you have tips for labeling if the original labels are missing or unclear, especially for people who just moved into an older house?
If the original labels are missing or confusing, turn on all the lights and plug in something small, like a radio, in different rooms. Then, flip each breaker off one at a time to see which outlets or lights lose power. Write down or use adhesive labels to mark each breaker clearly. This process takes a bit of time but is very helpful for safety and future troubleshooting.
When inspecting the electrical panel for rust or water intrusion as you suggest, are there specific warning signs that indicate a more serious problem requiring immediate professional attention versus minor issues a homeowner can safely address themselves?
If you see extensive rust, corrosion on wires or breakers, water pooling inside the panel, or notice any buzzing, crackling, or burnt smells, those are signs of a serious problem that need a licensed electrician right away. Minor surface rust or condensation marks on the outside may be cleaned and monitored, but anything affecting wiring or components inside should never be handled by homeowners due to shock and fire risks.
Your article mentions testing each breaker by switching it off and on to check for faults. If I find a breaker that feels loose or won’t reset, is this something I can safely address myself, or should I immediately call in an electrician?
If a breaker feels loose or doesn’t reset, it’s best not to attempt repairs yourself. These could be signs of a faulty or failing breaker, which can pose a safety risk. Instead, contact a licensed electrician to inspect and fix the issue to ensure your electrical system remains safe and up to code.