

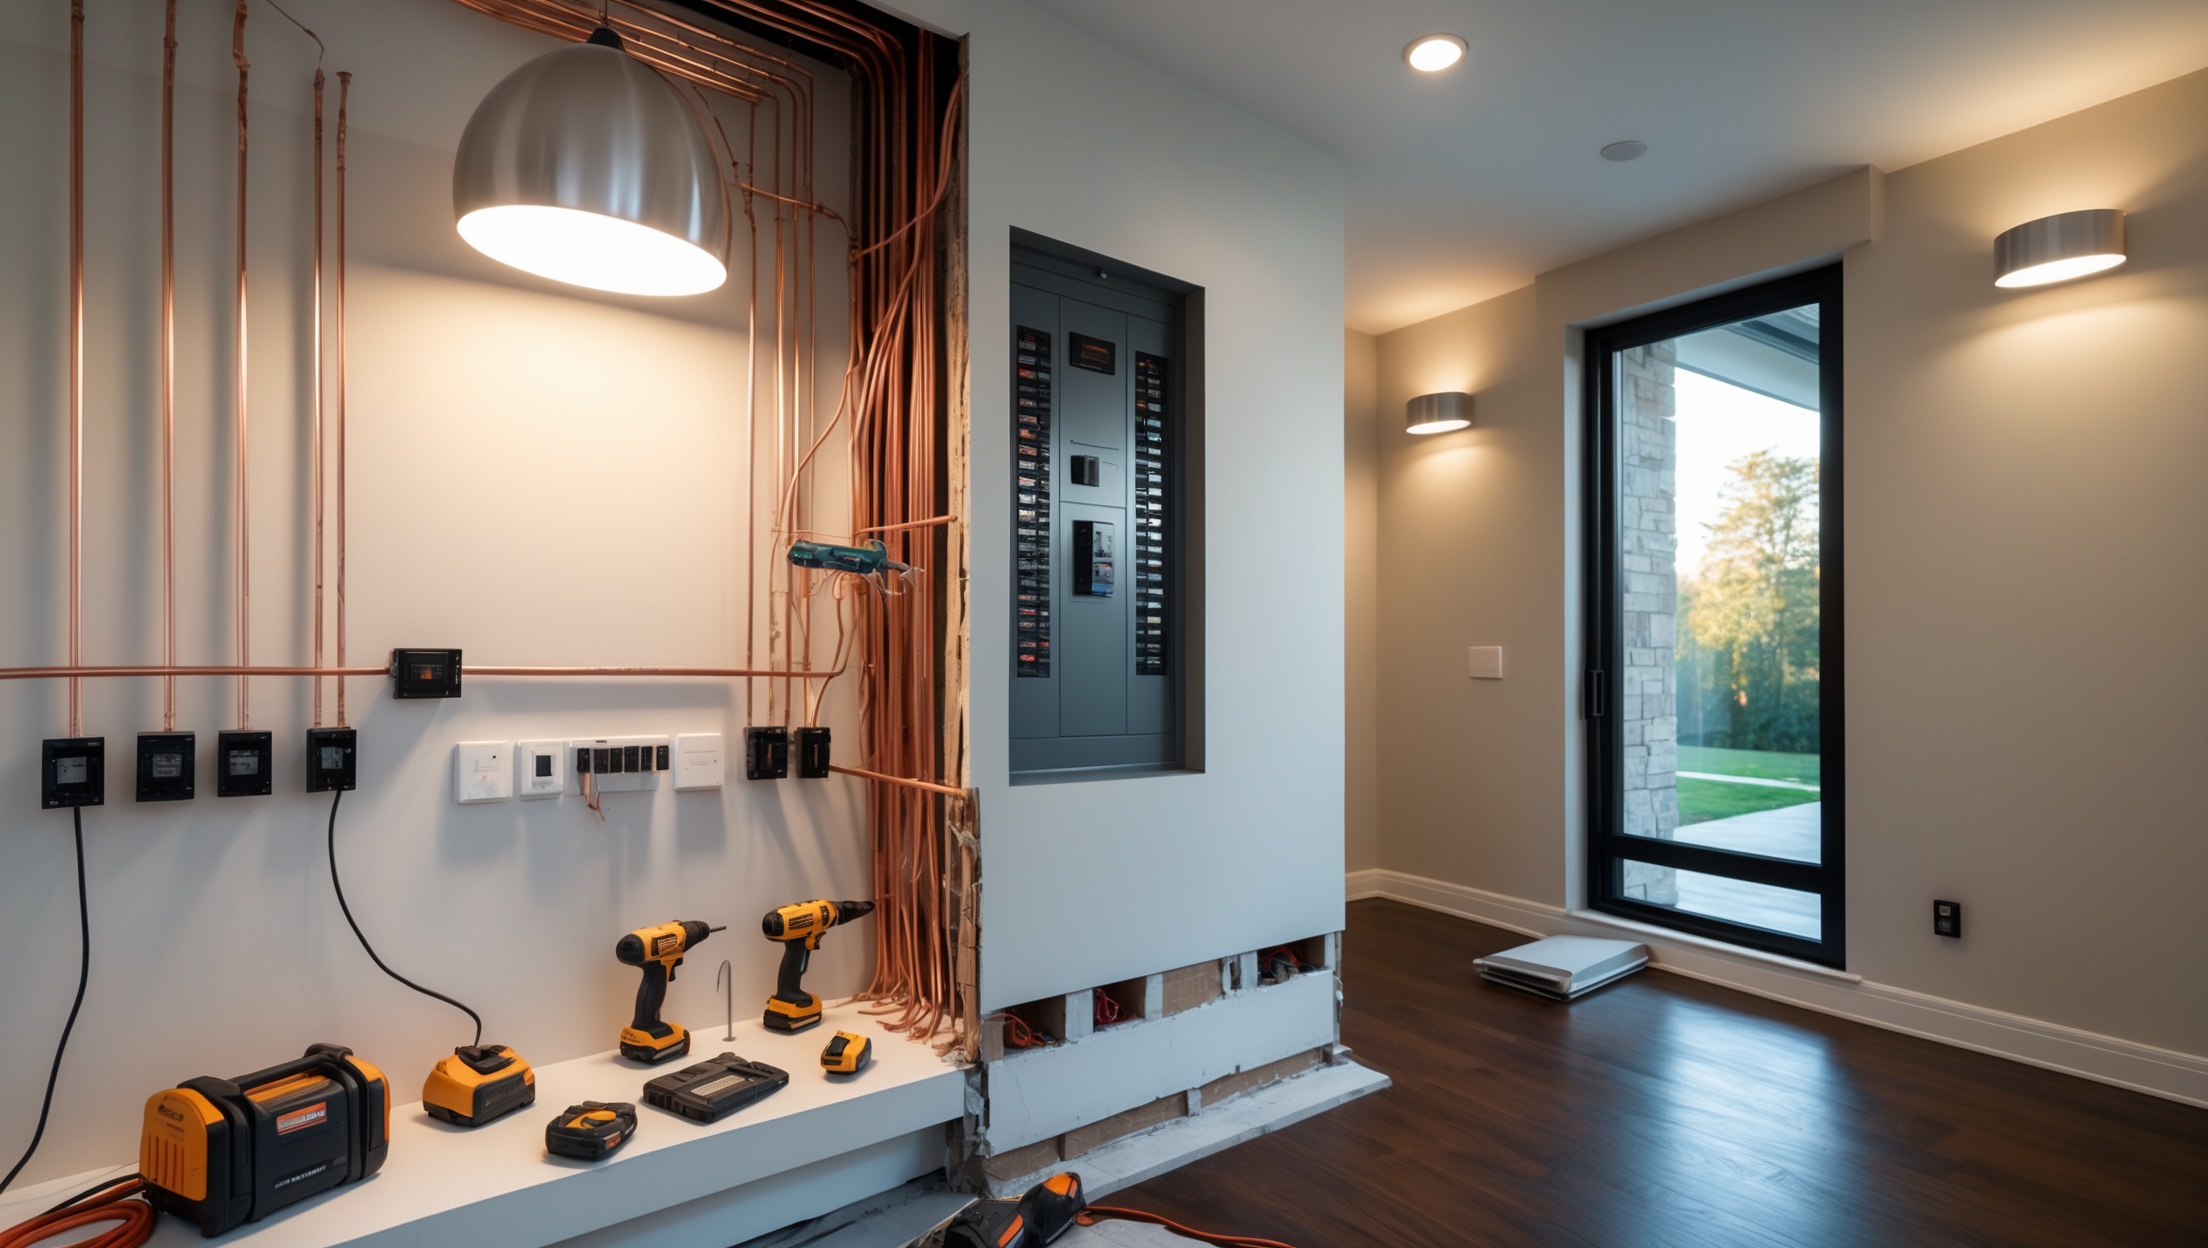
Introduction: Why Electrical Upgrades Matter in Home Remodeling
Home remodeling is the perfect opportunity to not only refresh your living space but also bring your electrical system up to date. While new flooring or fresh paint is exciting, upgrading your electrical infrastructure is essential for safety, compliance, and supporting today’s technology-driven lifestyles. Whether you’re planning a kitchen overhaul, adding a room, or finishing a basement, ignoring the electrical side can lead to costly setbacks, safety hazards, and even failed inspections. This comprehensive guide will walk you through the practical steps required to plan, budget, and execute electrical upgrades as part of a home remodeling project. We’ll dig into the process of evaluating your current system, setting a realistic budget, navigating permits, understanding compliance, and maintaining safety throughout the project. By the end, you’ll be equipped to make informed decisions for a safer, more efficient, and future-ready home.
Assessing Your Current Electrical System
Why Assessment Comes First
Before any demolition or construction begins, evaluate your existing electrical infrastructure. Many homes, especially those built before 1990, may have outdated wiring, overloaded panels, or insufficient outlets that are not up to current code. Assessing these components will inform your upgrade strategy and prevent surprises later.
Checklist for Electrical Assessment
- Is your breaker panel rated for your home’s total electrical demand?
- Are there signs of wear or overheating, such as scorch marks or buzzing sounds?
- Do you have enough circuits for new appliances or added rooms?
- Is there evidence of aluminum wiring, knob-and-tube, or other legacy systems?
- Are outlets grounded and equipped with GFCIs in wet areas?
- Is your lighting compatible with modern, energy-efficient bulbs?
When to Hire a Professional
While DIYers can perform visual checks and basic testing, a licensed electrician should conduct a detailed evaluation, especially if you notice any warning signs or plan significant changes. They can identify load imbalances, hidden hazards, and code deficiencies that may not be apparent.
Budgeting for Electrical Upgrades
Understanding Cost Factors
Electrical work can be one of the most variable costs in a remodel. Factors influencing your budget include:
- Scope of Work: Are you adding circuits, rewiring rooms, upgrading the service panel, or installing smart systems?
- Home Size and Age: Larger or older homes often require more extensive upgrades.
- Material Choices: Copper vs. aluminum wiring, standard vs. smart switches, and fixture quality all impact price.
- Labor Rates: Electrician rates vary by region and project complexity.
- Permit and Inspection Fees: Local requirements may add to the total cost.
Sample Cost Breakdown
- New circuit installation: $150–$300 per circuit
- Full room rewiring: $1,500–$3,000 (materials and labor)
- Service panel upgrade (100A to 200A): $2,000–$4,000
- Addition of GFCI/AFCI protection: $50–$100 per outlet
- Smart lighting or automation hubs: $200–$2,000+
- Permit fees: $100–$500 (varies by location)
Always request itemized quotes from at least two licensed electricians, and factor in a 10–20% contingency for unexpected issues.
Ways to Control Costs
- Prioritize essential upgrades for safety and code compliance first.
- Bundle electrical work with other trades to minimize labor overlap.
- Opt for energy-efficient fixtures that may qualify for rebates.
- Plan for future needs (EV charging, solar prep) to avoid repeat work.
Permits, Compliance, and Code Considerations
Why Permits Are Non-Negotiable
Electrical permits are not just bureaucratic hurdles; they ensure your upgrades meet safety standards and are inspected by a professional. Skipping permits can void your homeowners insurance, fail resale inspections, or even put you at risk of electrical fires or injury.
The Permit Process Explained
- Application: Submit detailed plans to your local building department, outlining the scope, materials, and layout.
- Approval: Wait for approval before starting any electrical work.
- Inspections: Expect rough-in and final inspections to confirm everything is up to code before walls are closed and after completion.
Some minor upgrades, like replacing outlets or fixtures, may be considered “maintenance” and not require a permit; always check local regulations.
Key Electrical Code Updates to Know
- GFCI protection is now required in kitchens, bathrooms, garages, and outdoor outlets.
- Arc Fault Circuit Interrupters (AFCIs) are required in most living areas.
- Dedicated circuits are mandated for heavy appliances like ovens, HVAC, and laundry machines.
- Smoke and carbon monoxide detectors must be hardwired and interconnected in most jurisdictions.
Stay informed on the latest National Electrical Code (NEC) updates and any stricter local amendments.
Designing for Efficiency and Flexibility
Future-Proofing Your Electrical Layout
Remodeling is your chance to anticipate future needs. Consider these strategies:
- Install extra outlets and USB charging stations in living areas and bedrooms.
- Pre-wire for data, audio, and security systems—even if you don’t install them now.
- Add conduit or raceways in finished areas for easier future wiring upgrades.
- Plan for smart home hubs, automation, and energy management systems.
Lighting Upgrades for Modern Living
Upgrade to LED fixtures for better efficiency and longer lifespan. Use layered lighting—ambient, task, and accent—to boost comfort and reduce energy use. Dimmer switches and motion sensors can further optimize usage.
Safety Essentials During Remodeling
Planning for Temporary Power
If remodeling requires shutting off circuits, set up temporary power sources to keep essential appliances running safely. Use heavy-duty extension cords rated for your load, and never daisy-chain cords to avoid overheating.
Protecting Home Occupants
- Seal off work areas to contain dust and debris from electrical work.
- Keep children and pets away from exposed wires and open panels.
- Ensure all wiring is de-energized before demolition or wall opening.
- Use lockout/tagout procedures to prevent accidental circuit activation.
Fire and Shock Prevention
Update or add smoke and carbon monoxide detectors in remodeled areas. Ensure all splices are made in approved junction boxes, and never run wires through doors, windows, or across traffic paths. Use only UL-listed components and follow manufacturer instructions precisely.
Integrating New Systems: Appliances, HVAC, and Smart Tech
Appliance and HVAC Upgrades
Modern appliances and HVAC systems often require more power and dedicated circuits. Coordinate with your electrician and appliance vendors to ensure correct amperage, wiring gauge, and breaker size. Oversize wires if you anticipate future additions like electric ranges or air conditioning.
Smart Home Integration
Smart lighting, thermostats, security, and automation systems can often be integrated during remodeling for a cleaner look and more reliable performance. Hardwire wherever possible, and centralize hubs and wiring in an accessible, ventilated area. Use CAT6 or higher cabling for long-term compatibility.
Electrical Tools and Equipment for Remodeling Projects
Essential Tools for Safe Work
- Voltage tester and multimeter for safe verification of de-energized circuits
- Wire strippers and cutters sized for residential gauges
- Fish tape or rods for routing wires through walls
- Drill with spade bits for boring holes in studs
- Label maker or markers for circuit identification
- Personal protective equipment (PPE): insulated gloves, safety glasses, dust mask
When to Rent or Buy Specialty Equipment
Rent conduit benders, drywall saws, or power snake tools for larger jobs. Always inspect equipment for damage and verify insulation ratings before use.
Case Study: Kitchen Remodel Electrical Upgrades
During a recent kitchen remodel in a 1970s home, the owners discovered outdated aluminum wiring and insufficient outlets for modern appliances. The electrician recommended a full rewiring of the kitchen, addition of GFCI outlets, upgrading the service panel from 100A to 200A, and installing dedicated circuits for the refrigerator, microwave, and dishwasher. The work required permits and two inspections. The project cost $5,800, but the owners gained peace of mind, increased energy efficiency, and passed their final inspection without issues.
Maintenance Best Practices After Remodeling
Post-Remodel Inspection Checklist
- Test every new outlet and switch for correct operation and polarity.
- Check that all breaker labels match the new layout.
- Verify GFCI and AFCI protection in required areas.
- Inspect installed fixtures for secure mounting and correct bulb wattage.
Ongoing Maintenance Tips
- Schedule annual inspections for panels and junction boxes.
- Replace bulbs and batteries in detectors regularly.
- Monitor for any unusual sounds, smells, or warmth near outlets and switches.
- Keep appliance manuals and electrical schematics for troubleshooting.
Conclusion: Remodeling for a Safer, Smarter Home
Electrical upgrades are a vital, often overlooked aspect of home remodeling. Thoughtful planning, budgeting, and adherence to permits and codes will not only protect your investment but ensure your family’s safety for years to come. Start with a thorough assessment, work with qualified professionals, and don’t cut corners on materials or compliance. Design with flexibility in mind, anticipating future needs and new technologies. During construction, prioritize safety for everyone in the home, and conduct meticulous post-project checks. While the upfront costs of electrical upgrades may seem significant, the long-term benefits—greater reliability, lower risk of fire or shock, improved energy efficiency, and higher resale value—make them one of the wisest investments you can make during a remodel. By following the strategies outlined in this guide, you can transform your living space into a safer, more adaptable, and energy-smart environment that meets your family’s needs today and tomorrow.
When you mention evaluating breakers for total electrical demand, is there a way for a homeowner to estimate this before bringing in an electrician, or is it better to just have a pro check everything from the start?
Homeowners can estimate their total electrical demand by adding up the wattage of all major appliances, lighting, and systems they plan to use. Divide total watts by 120 or 240 (voltage) to get an estimate in amps. While this gives a general idea, a licensed electrician should still verify your calculations and check existing panel capacity to ensure safety and code compliance before any upgrades.
When it comes to budgeting for electrical upgrades during a remodel, what are some unexpected costs that homeowners commonly encounter, especially with older wiring or legacy systems?
Homeowners often run into extra costs when dealing with older wiring, such as needing to replace outdated knob-and-tube or aluminum wiring for safety and code compliance. You might also face expenses for upgrading your electrical panel to handle modern loads, fixing hidden damage found inside walls, or addressing grounding and bonding issues that weren’t up to standard in older homes. These surprises can increase both labor and material costs, so it’s wise to set aside a contingency budget.
You mentioned that homes built before 1990 might have outdated wiring or panels. How can I estimate what upgrading those components might cost, especially if I’m already tight on my remodeling budget?
Upgrading old wiring or electrical panels can vary in cost depending on your home’s size and the extent of the work. For a basic panel upgrade, you might expect $1,500 to $3,000, while rewiring an entire home could range from $4,000 to $15,000 or more. To get a clearer estimate, consider having a licensed electrician inspect your system and provide a detailed quote. You can also ask about phased upgrades to spread out the cost over time.
You mention checking for outdated wiring like aluminum or knob-and-tube during the assessment. If I do find these in my home, what are the typical steps and costs involved in replacing or upgrading them during a remodel?
If you discover aluminum or knob-and-tube wiring, the usual steps are: hiring a licensed electrician for a full inspection, planning a rewiring project, removing the old wiring, and installing new copper wiring that meets current codes. Costs can vary widely depending on your home’s size and complexity, but for a full rewiring, you might expect to spend $8,000 to $20,000 for an average-sized home. Replacing just certain sections could cost less. Always budget for permits and possible repairs to walls or ceilings afterward.
If I suspect my current outlets aren’t grounded or don’t have GFCIs in the bathrooms, is it usually a straightforward fix, or does it tend to uncover bigger wiring issues that increase cost and project time?
Replacing ungrounded outlets or adding GFCI outlets in bathrooms can sometimes be straightforward, especially in newer homes where wiring is up to code. However, in older homes, these updates may reveal outdated wiring, lack of grounding, or other code violations, which can increase costs and project duration. It’s wise to have a licensed electrician assess your setup before starting, so you can budget for any additional work if needed.
When budgeting for electrical upgrades as part of a kitchen remodel, is it usually more cost-effective to upgrade everything at once or to do smaller improvements as we go? I worry about costs snowballing once walls are open.
Upgrading your electrical system all at once during a kitchen remodel is usually more cost-effective than doing small improvements over time. When walls are already open, both labor and material costs are minimized, and you avoid paying for repeat visits or patchwork fixes. This approach also ensures your kitchen is up to current codes and ready for future needs, helping you avoid unexpected expenses later on.
As a small business owner who sometimes oversees remodeling projects, I noticed you mentioned the importance of evaluating breaker panel capacity. How can I estimate if a panel upgrade will be needed when adding outlets or converting a basement to workspace before hiring an electrician?
To estimate if a panel upgrade might be needed, first check the amperage rating on your existing breaker panel—it’s usually labeled inside the door (common sizes are 100, 150, or 200 amps). Add up the amperage of your current major appliances and planned additions like outlets, lights, or office equipment. If your projected usage approaches or exceeds the panel’s total capacity, or you’re often tripping breakers, an upgrade is likely needed. For a more accurate assessment, consider making a detailed list of new equipment and their electrical loads to discuss with an electrician.