

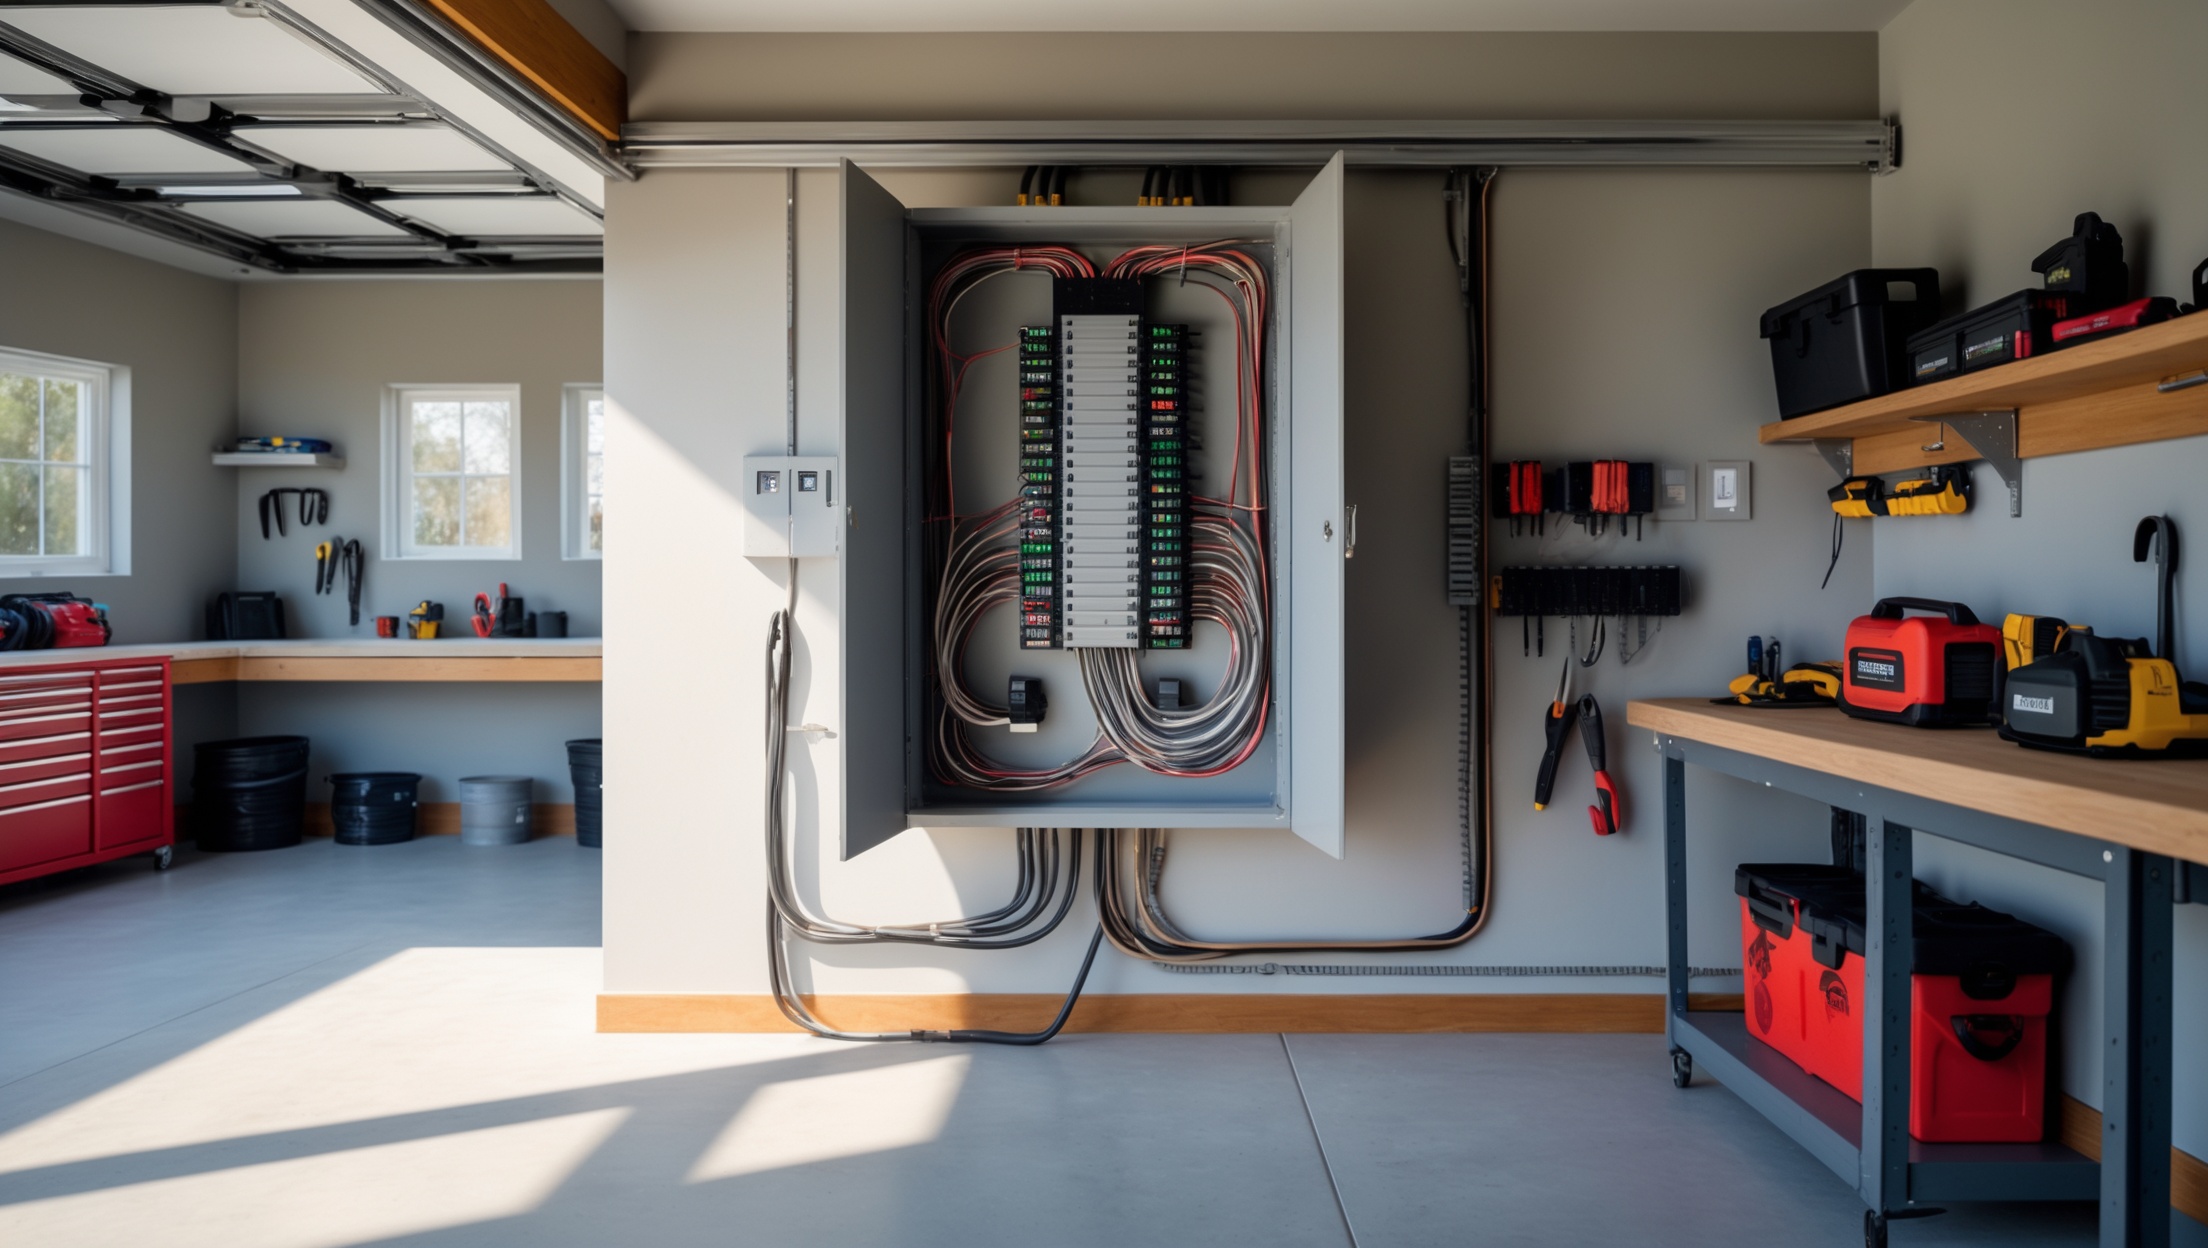
Introduction: Why Install a Subpanel in Your Detached Garage?
Detached garages are no longer just for parking cars—they’re workshops, home gyms, storage spaces, and even the occasional home office. As the roles of these outbuildings expand, so do their electrical needs. Running power from your home’s main panel to a detached structure can quickly outgrow the capacity of a single circuit, leading to tripping breakers, overloaded outlets, and safety hazards. That’s where a dedicated subpanel comes in. Installing a subpanel in your detached garage is often the safest, most flexible solution for powering tools, lighting, charging stations, HVAC, and more. But the process is more involved than simply running a new wire; it requires careful planning, strict code compliance, budgeting, and a firm understanding of the steps involved.
This comprehensive guide demystifies subpanel installations in detached garages. We’ll break down code requirements, permits, essential equipment, cost factors, and every step from planning to final inspection. Whether you’re a confident DIYer or planning to hire a pro, you’ll finish this article knowing exactly what to expect and what to avoid for a safe, efficient, and future-proof garage electrical system.
Understanding Subpanels: What, Why, and When?
What Is a Subpanel?
A subpanel, or secondary breaker panel, is a smaller distribution board that receives power from your main service panel. It allows you to distribute power to multiple circuits in a specific area—like a detached garage—while keeping those circuits separate from your home’s main panel. The subpanel contains its own circuit breakers, providing localized overload protection and easier troubleshooting.
When Is a Subpanel Necessary?
- Multiple circuits needed: If your garage will have lighting, outlets, heavy-duty tools, or equipment requiring more than one circuit.
- High-demand equipment: Running welders, compressors, EV chargers, or HVAC.
- Future flexibility: Planning for future expansion or additional equipment.
- Code compliance: Local codes may require a subpanel for certain loads or distances.
Alternatives to Subpanels
For a single light and a couple of outlets, a dedicated circuit from your main panel may suffice. However, this limits capacity, future upgrades, and may not meet code for larger setups.
Code Compliance and Permitting Essentials
National Electrical Code (NEC) Requirements
- Feeder Type: Underground (buried) feeders must be rated for direct burial (e.g., UF-B cable) or run in conduit. Overhead feeders require proper clearance and weatherproofing.
- Wire Size: Must match amperage and run length to prevent voltage drop (see wire sizing table below).
- Grounding: Detached structures require their own grounding electrode system (ground rods).
- Neutral-Ground Separation: In subpanels, the neutral and ground bars must be isolated.
- GFCI/AFCI Protection: Required for outlets in garages and outdoor areas.
- Disconnecting Means: Subpanel must have a main breaker or a separate disconnect within the garage.
Local Permitting and Inspections
- Electrical Permit: Almost always required for feeder/subpanel installs; check with your city or county.
- Inspection: Rough-in (before covering wires) and final (after installation) inspections are typical.
- Utility Notification: Some jurisdictions require utility notification for major changes.
Common Compliance Pitfalls
- Failing to separate neutrals and grounds in subpanels.
- Insufficient burial depth for underground feeders.
- Using undersized wire for long runs, causing voltage drop.
- Skipping the required ground rod system at the detached garage.
Cost Breakdown: What to Expect
Material Costs
- Subpanel (6 to 12 circuits): $50–$150
- Feeder cable (50–100 feet): $100–$400 (depending on ampacity and type)
- Conduit and fittings: $50–$200 (for underground or surface-mount installations)
- Ground rods and clamps: $20–$50
- Circuit breakers: $5–$20 each (depending on type, e.g., GFCI, AFCI)
- Miscellaneous (boxes, connectors, sealant): $50–$100
Labor Costs
- Electrician labor: $500–$2,000+ (varies by complexity, region, and trenching needs)
- Trenching (for underground feeders): $10–$20 per linear foot (can rent trenchers for DIY)
Permit Fees
- Electrical permit: $50–$200 (varies by municipality)
Total Project Cost Estimate
- DIY install: $300–$1,000 (excluding tools you may need to buy/rent)
- Professional install: $1,200–$4,000 (depending on size, distance, site conditions)
Always obtain multiple quotes for professional work and confirm all permit requirements before starting.
Planning Your Subpanel Installation
Step 1: Assess Your Power Needs
- List all current and future equipment you plan to use (tools, EV chargers, HVAC, lighting).
- Check the amperage of each device (label or manual).
- Calculate total expected load; add a margin for future upgrades (typically 20–30%).
- Common garage subpanels are 60A or 100A; 30A may suffice for light use, but limits future flexibility.
Step 2: Choose Subpanel Location
- Install in a dry, accessible, well-lit area free of obstructions.
- Maintain clear working space: NEC requires 30 inches wide, 36 inches deep, and 78 inches high.
- Mount at a comfortable height (typically 4–6 feet from the floor).
Step 3: Plan Feeder Route
- Underground: Most common for detached garages; requires trenching 18–24 inches deep, or as required by code.
- Overhead: Only allowed in certain areas; must meet clearance and weatherproofing codes.
- Shortest, safest route is best—avoid crossing driveways or other utilities where possible.
Step 4: Select Feeder Size and Type
Wire size depends on amperage, distance, and voltage drop. Use copper or aluminum Type SER, URD, or THWN in conduit. Here’s a quick reference:
- 60A (up to 100 feet): #6 AWG copper or #4 AWG aluminum
- 100A (up to 100 feet): #3 AWG copper or #1 AWG aluminum
- For longer runs, increase wire size to compensate for voltage drop (aim for less than 3%).
Step 5: Obtain Permits
- Submit plans to your local building department.
- Provide details on panel size, feeder type, load calculation, and grounding method.
- Schedule inspections as required.
Essential Tools and Equipment Checklist
- Subpanel (with main breaker or disconnect)
- Feeder cable (correct size/type)
- Conduit (PVC or EMT, as required)
- Ground rods (usually two, 8-foot)
- Ground rod clamps and bare copper wire (#6 AWG minimum)
- Circuit breakers (standard, GFCI, or AFCI as needed)
- Wire strippers, cutters, screwdrivers, drill/driver
- Voltage tester and multimeter
- Conduit bender (if using EMT)
- Trenching tools (shovel, trenching machine for long runs)
- Personal protective equipment (gloves, safety glasses)
- Panel labeling materials
Step-by-Step Subpanel Installation Process
1. Shut Off Power and Prep Main Panel
- Turn off main breaker at the service panel.
- Confirm power is off with a voltage tester.
- Identify or install a double-pole breaker for the subpanel feeder.
2. Install and Mount the Subpanel
- Mount subpanel securely on the garage wall.
- Ensure proper clearance and accessibility.
- Remove neutral bonding screw or strap to isolate neutral bar from panel enclosure.
3. Run Feeder Cable or Wires
- Install conduit from main panel to garage (underground or overhead as planned).
- Pull feeder cable or individual conductors through conduit.
- Protect all wire entry points with proper fittings and bushings.
4. Grounding and Bonding
- Drive two ground rods at least 6 feet apart near the garage.
- Connect rods to subpanel’s ground bar with #6 AWG bare copper wire.
- Do NOT bond neutral and ground in the subpanel; keep them separate.
5. Make Panel Connections
- Connect feeder wires to main panel breaker (hot wires), neutral bar, and ground bar.
- At the subpanel, connect hots to main lugs/breaker, neutral to isolated neutral bar, ground to ground bar.
- Verify all connections are tight and conductors are properly stripped and torqued.
6. Install Branch Circuits in the Garage
- Run wiring from subpanel to outlets, lights, and equipment.
- Use GFCI protection for all 120V outlets; follow AFCI requirements per code.
- Label each circuit clearly in the subpanel.
7. Inspection and Final Power-Up
- Arrange for required inspections before energizing the system.
- Correct any deficiencies noted by the inspector.
- Once approved, turn on the main panel breaker and subpanel main breaker.
- Test all circuits, outlets, and devices for proper function.
Maintenance Best Practices for Subpanels
- Check panel cover screws and ensure the panel is securely mounted.
- Visually inspect for signs of corrosion, overheating, or loose connections annually.
- Tighten lug connections as needed (with power off).
- Test GFCI/AFCI breakers monthly as per manufacturer instructions.
- Keep panel area clear of clutter, chemicals, and moisture sources.
- Update circuit labels whenever you make changes or add equipment.
Common Mistakes to Avoid
- Failing to obtain permits or schedule inspections.
- Improper wire sizing for the distance and load.
- Bonding neutral and ground together in the subpanel (major code violation).
- Skipping the ground rod system at the detached garage.
- Neglecting GFCI and AFCI breaker requirements.
- Not labeling circuits, making future troubleshooting a headache.
FAQs
Can I DIY a subpanel install in my garage?
Competent DIYers with electrical experience can install a subpanel, but must strictly follow code, obtain permits, and pass inspections. If in doubt, hire a licensed electrician.
Do I need a main breaker in my garage subpanel?
NEC requires a disconnecting means at the detached structure. This can be a main breaker in the subpanel or a separate disconnect switch.
How deep must I bury the feeder cable?
Minimum depth varies by wiring method: 18 inches for PVC conduit, 24 inches for direct-burial cable (UF-B). Always confirm with local code.
Should I use copper or aluminum feeder wire?
Both are allowed if properly sized. Copper is more expensive but easier to work with and less prone to corrosion.
Can I connect water and gas lines to the subpanel ground?
Never use plumbing or gas pipes as a primary ground. Only use approved ground rods or, in some cases, concrete-encased electrodes.
Conclusion: Safe, Future-Proof Power for Your Garage
Adding a dedicated subpanel to your detached garage is a smart investment in convenience, safety, and property value. It empowers you to run multiple circuits for tools, lighting, and vehicles without overloading your main panel or relying on risky extension cords. However, success demands careful planning—from calculating your load and selecting the right wire size, to following every permit and inspection requirement, and ensuring strict separation of neutral and ground conductors. Skipping steps, cutting corners, or ignoring code can put your family and property at risk, as well as lead to costly do-overs after failed inspections.
Whether you undertake this project yourself or hire a licensed professional, the keys to a successful subpanel installation are knowledge, thoroughness, and attention to detail. Remember to plan for future needs, keep safety at the forefront, and never hesitate to consult your local inspector or a trusted electrician if you’re unsure about any step. With a properly installed and maintained subpanel, your detached garage will be ready for anything—from weekend woodworking to tomorrow’s electric vehicle. The upfront effort pays dividends in peace of mind and flexibility for years to come.